
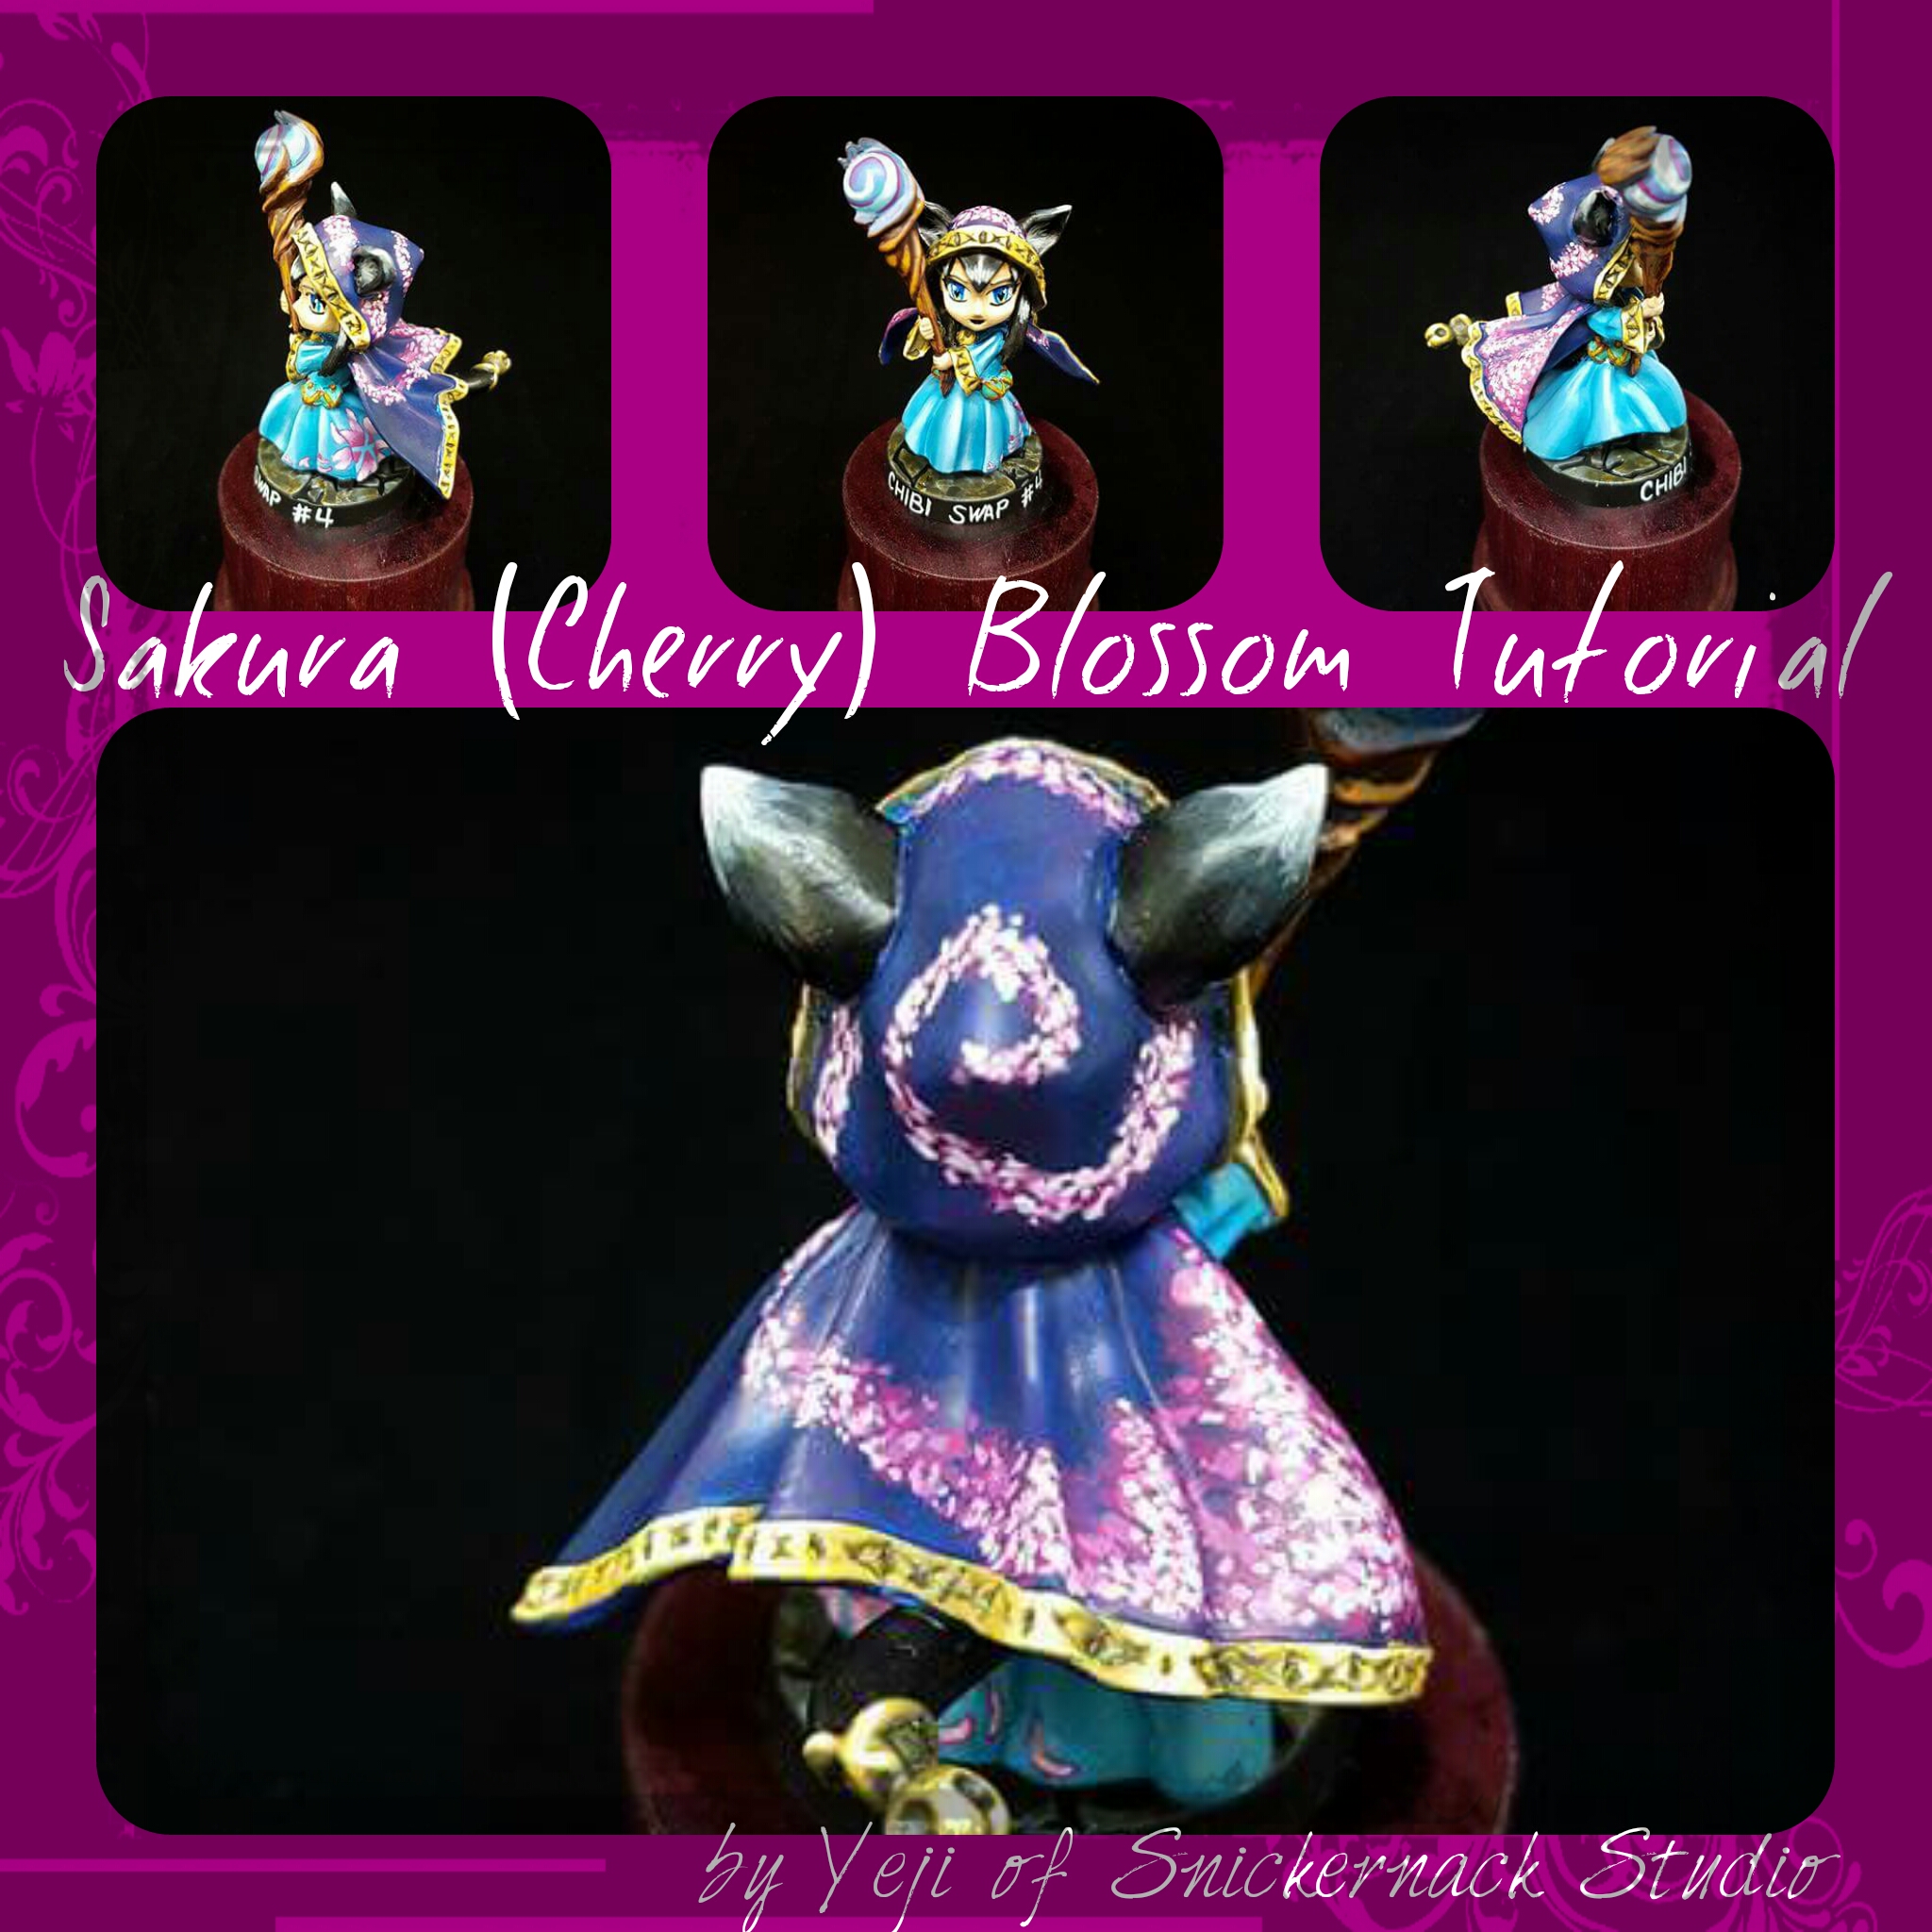
Hello folks! I haven’t posted a tutorial in a while, but recently as I have finished my Tabbybrook Mage from Super Dungeon Explore in a swap, there have been a couple requests for a tutorial for the effect. In essence it is really simple. Lots of dots in lighter and lighter colors. Granted this tutorial is done on paper, so the effect looks slightly different. Here we go!
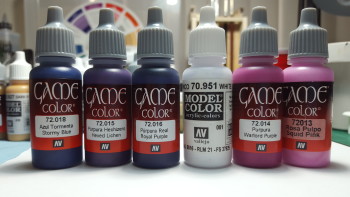
These are the colors used in the cape on my Tabbybrook. The three on the left, Vallejo Game Color Stormy Blue, Hexed Lichen, and Royal Purple, was the background of the cape. I just randomly mixed in the 3 colors to be the base because I wanted the blossoms against a darker background. I incorporated the purple in it because I wanted it to tie in a bit with the pink blossoms going onto the cape. The next 3 colors are the ones used for the blossoms themselves White, Warlord Purple and Squid Pink. The white can be switched up with any white, not necessarily Vallejo.
1 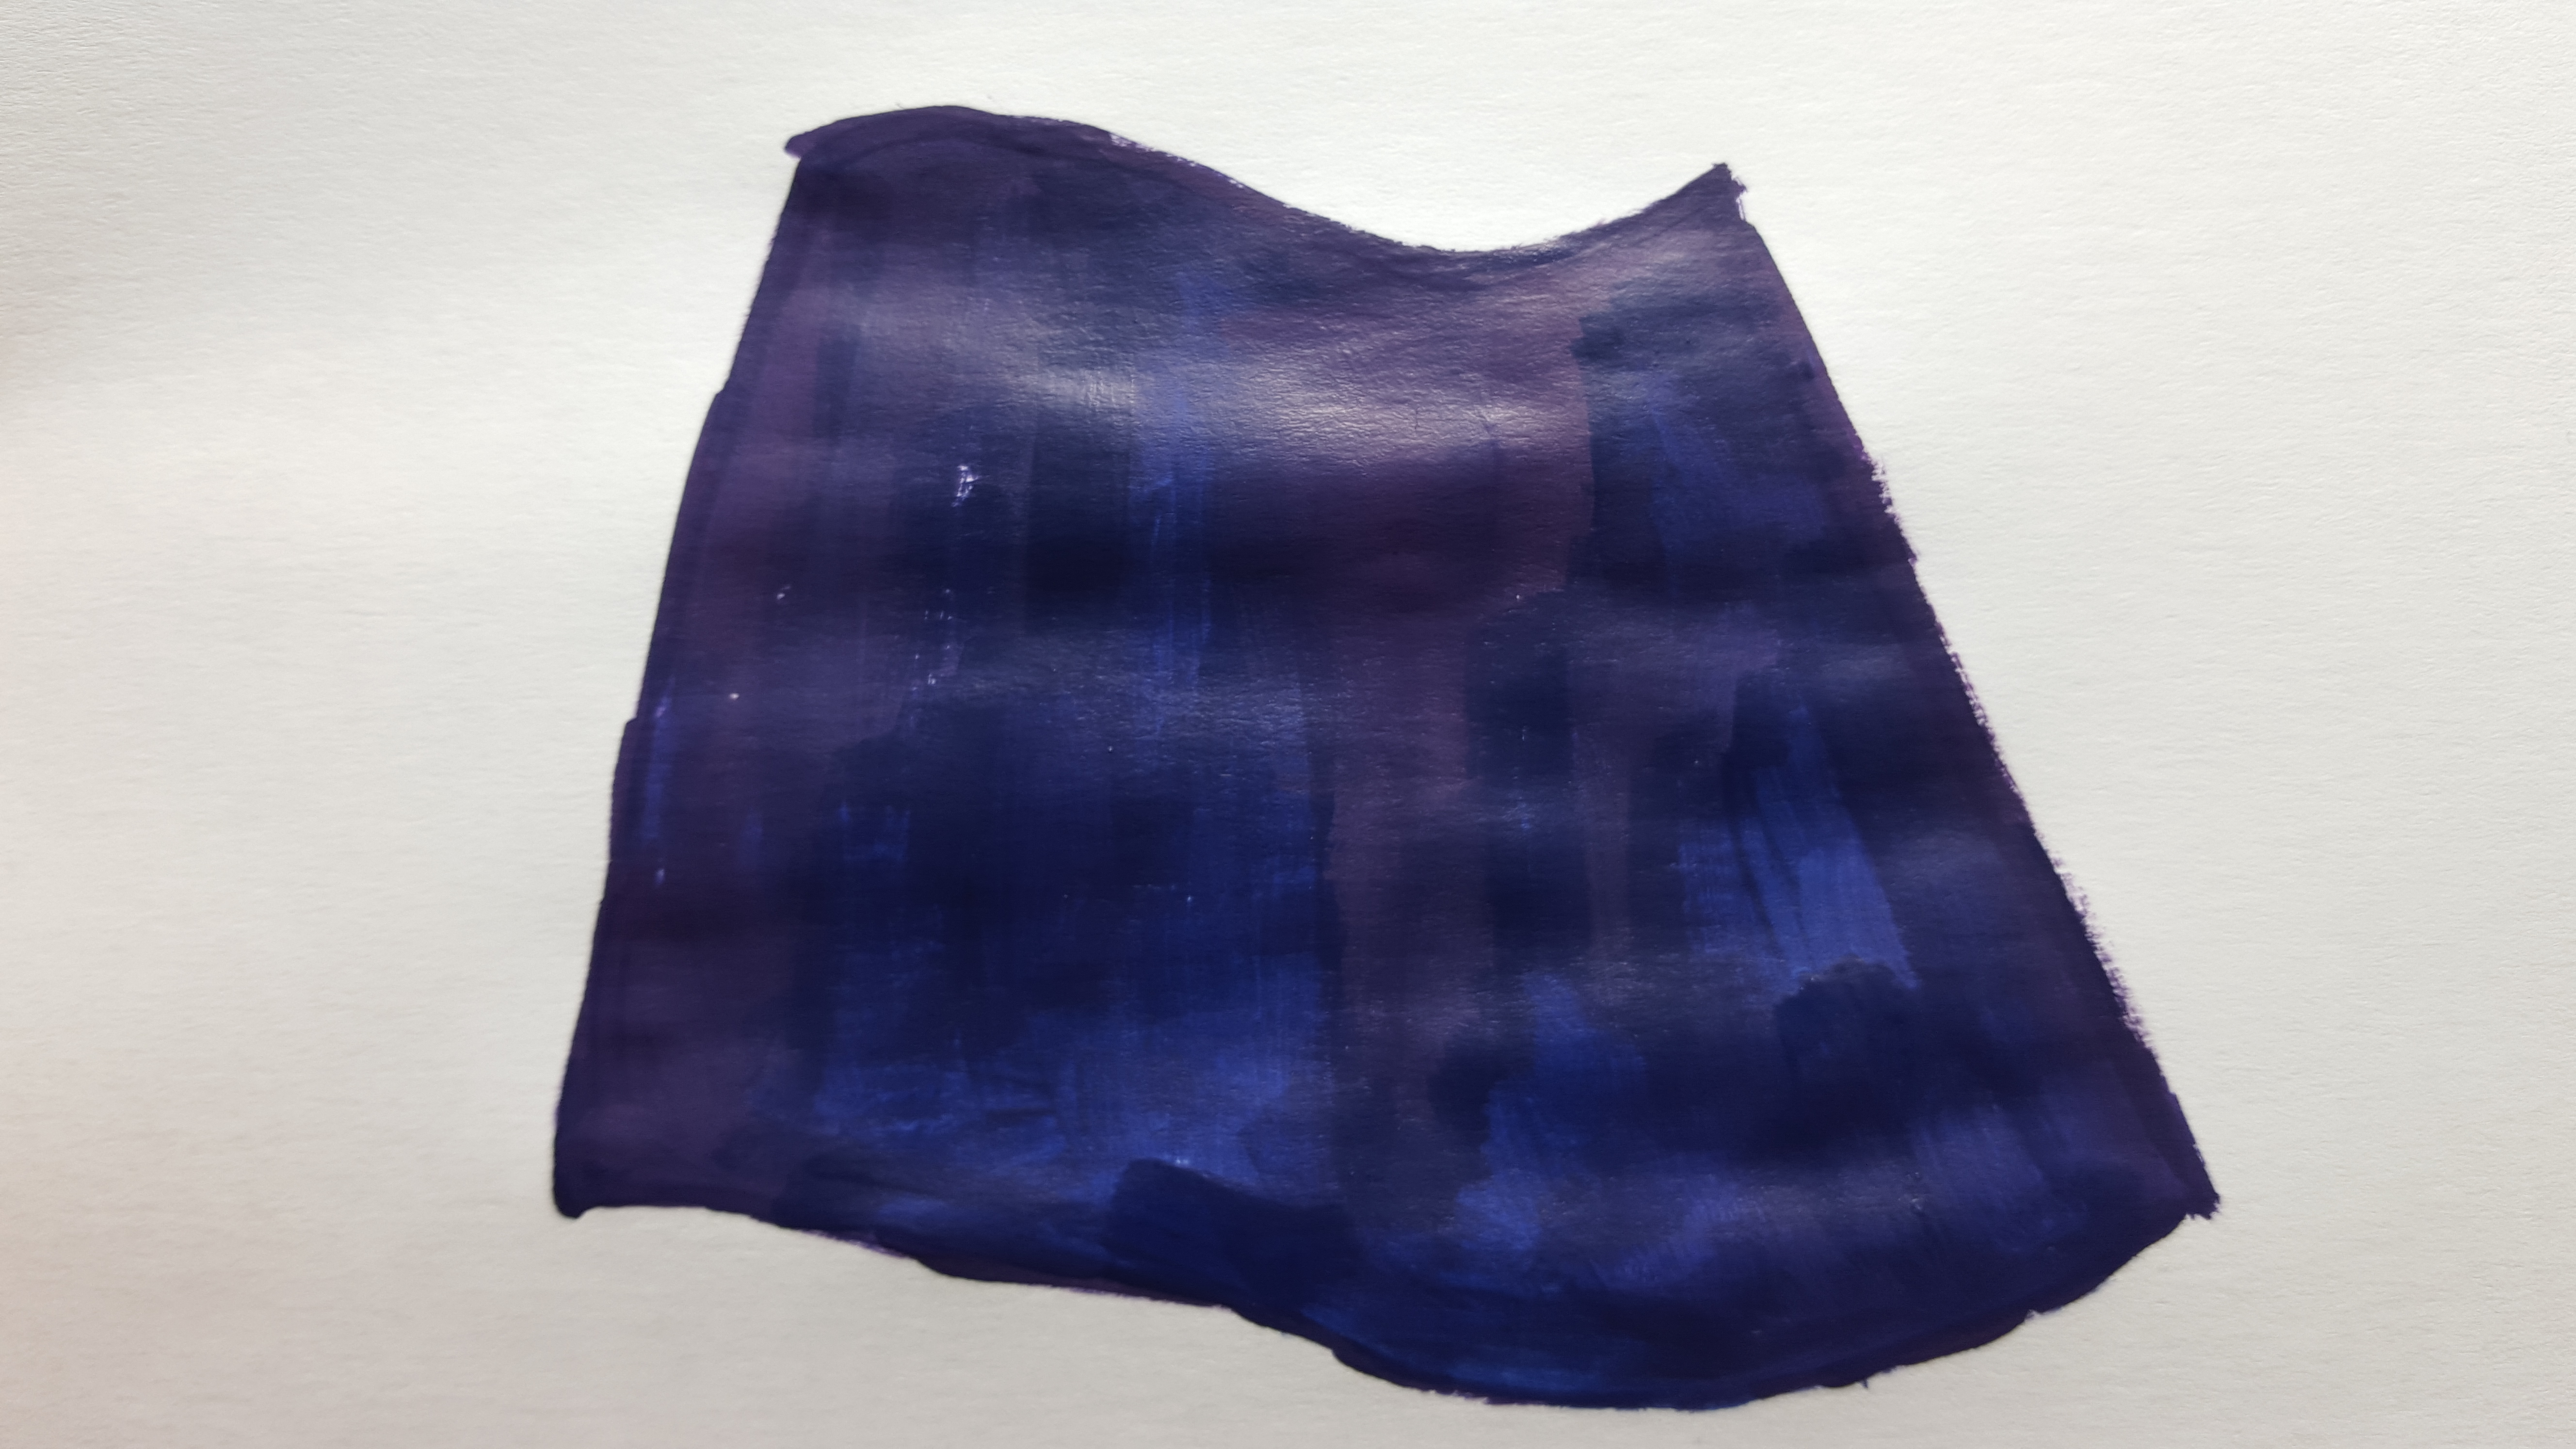 2
2 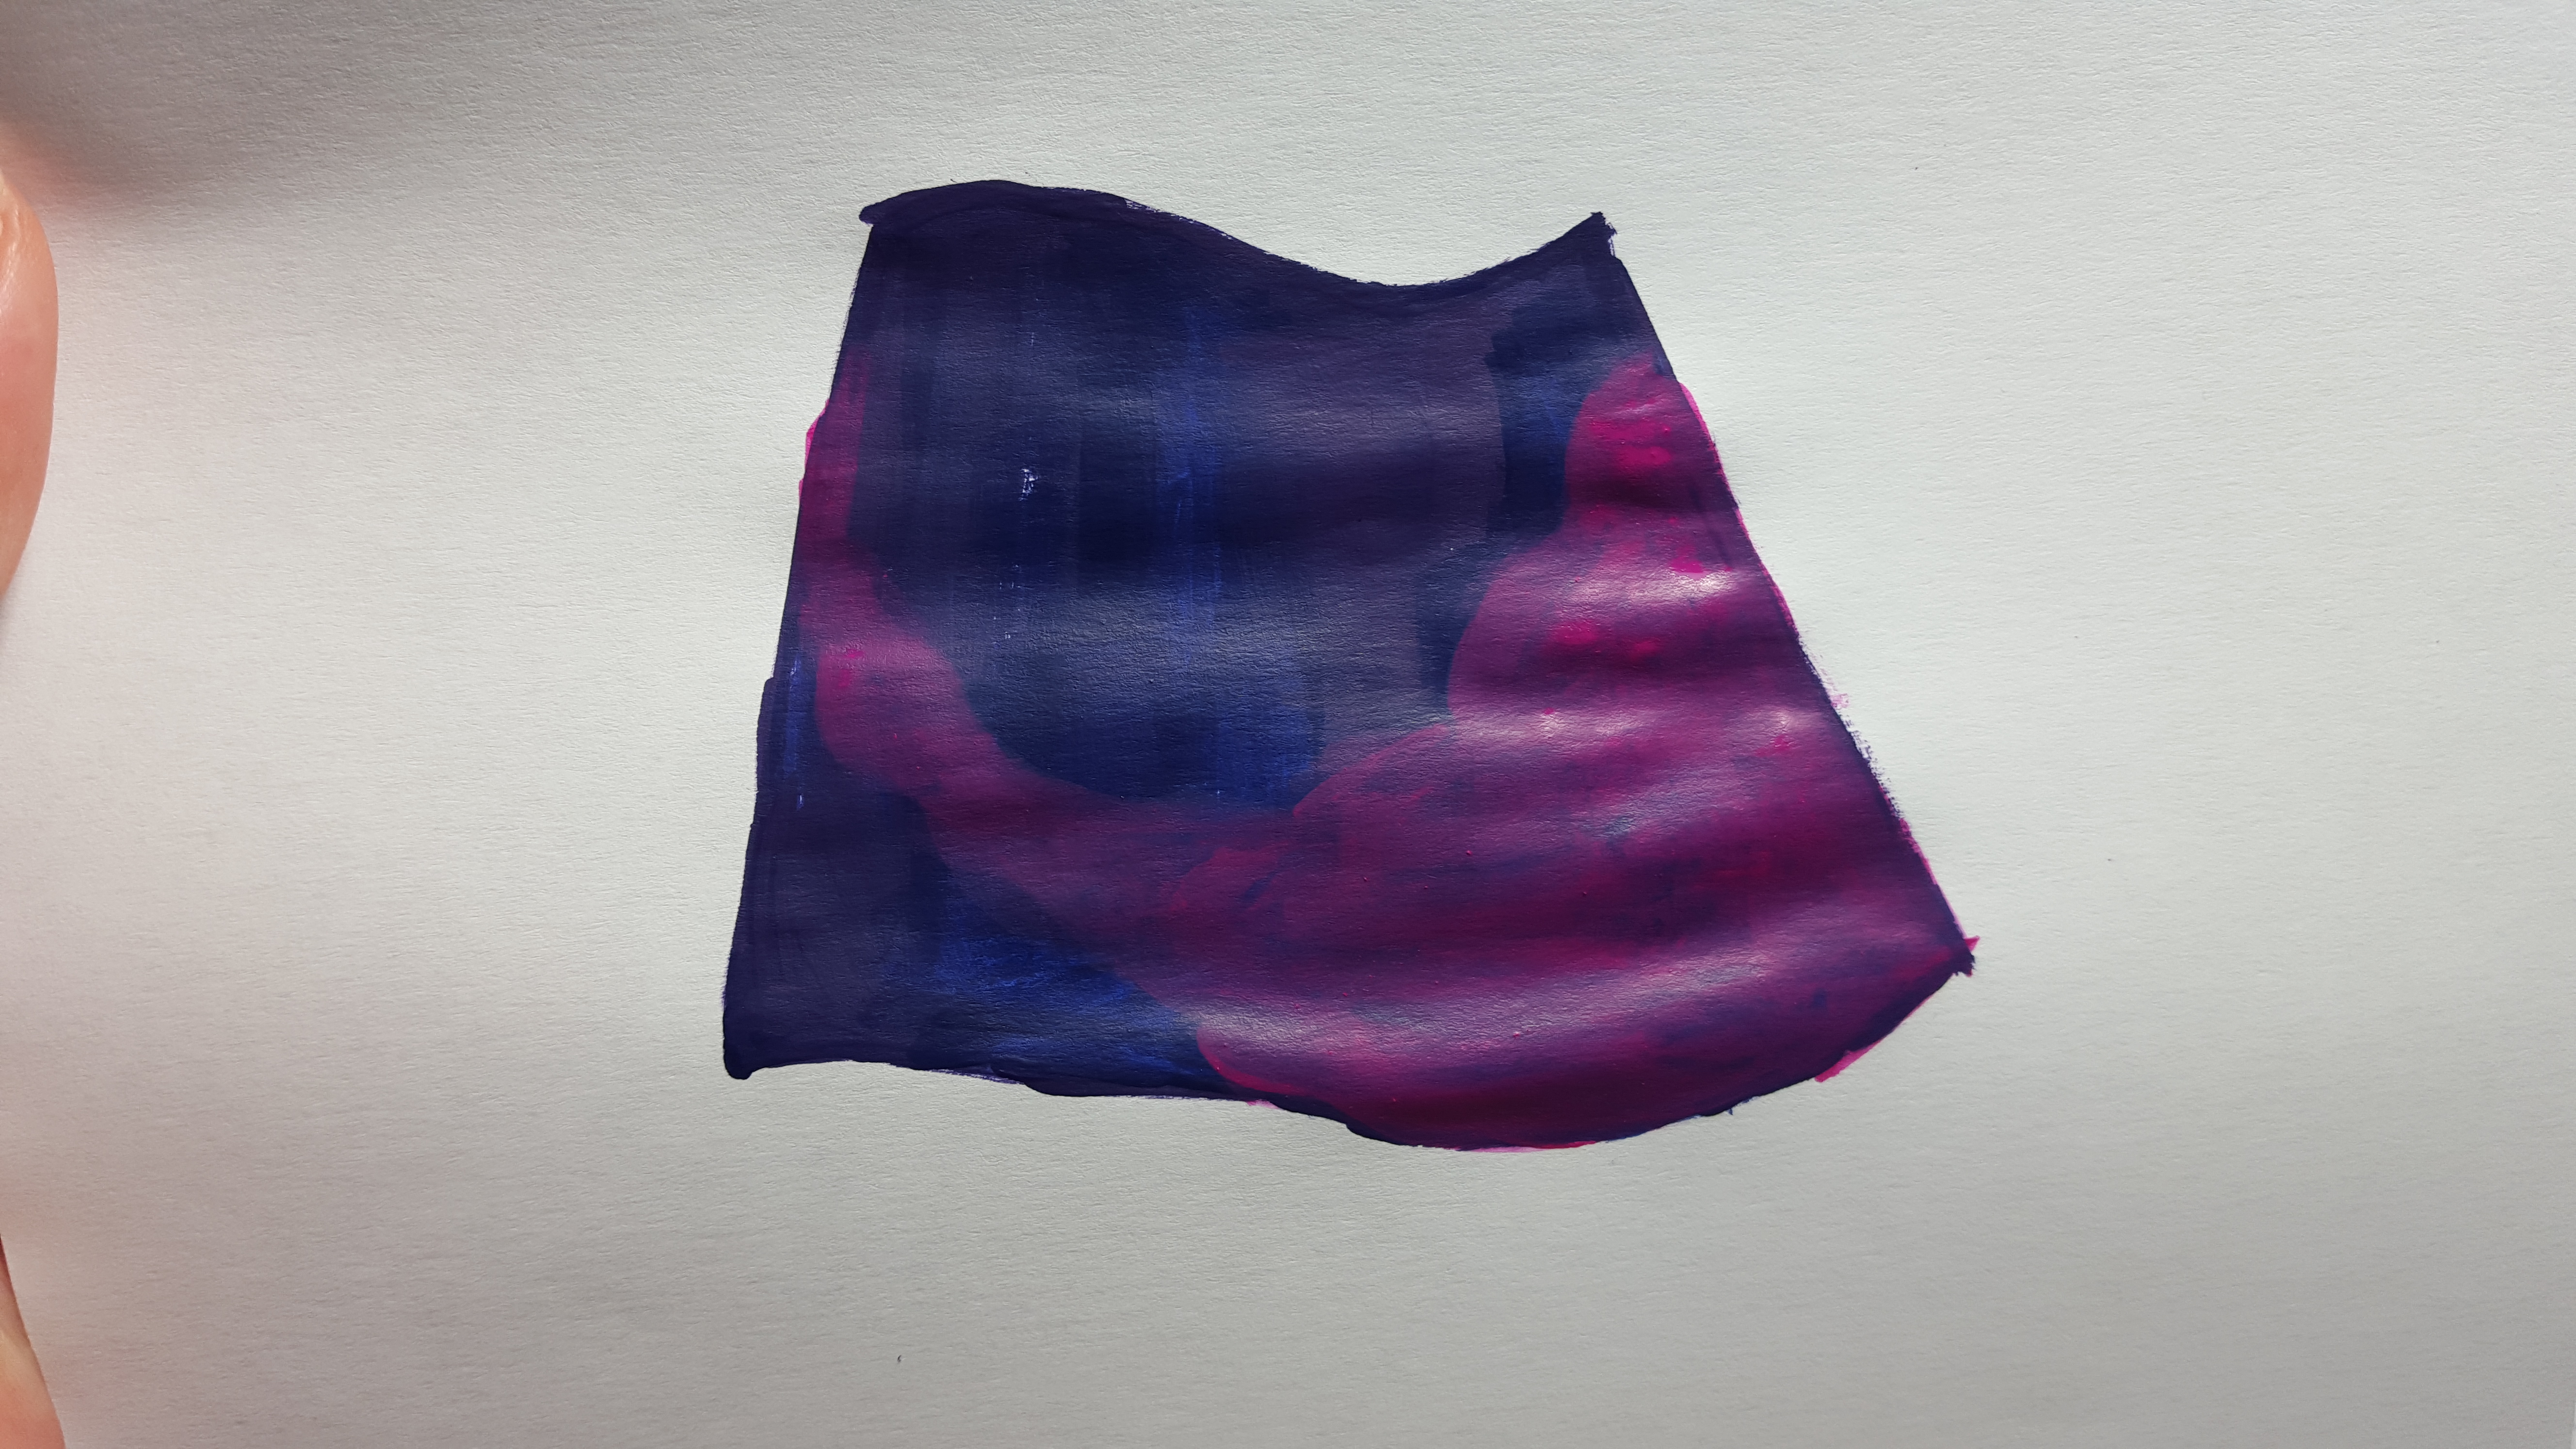
Picture 1 is the base of the cape. I used a majority of the Stormy Blue with random amounts of Hexed Lichen and Royal Purple either mixed in or layered very lightly on top. It’s not really noticeable, but it kind of tricks the eye into tying the piece together versus just a pattern on top of a blue cape.
Picture 2 is the process of blocking out the color for where you want the blossoms to go. I just put a thin layer of Warlord Purple, just enough to show through, where the blue of the cape is still slightly transparent. This will give the illusion that the sky is peaking through the blossoms. Incorporate little “fluffs” like you would see in clouds. This gives shape and depth.
3 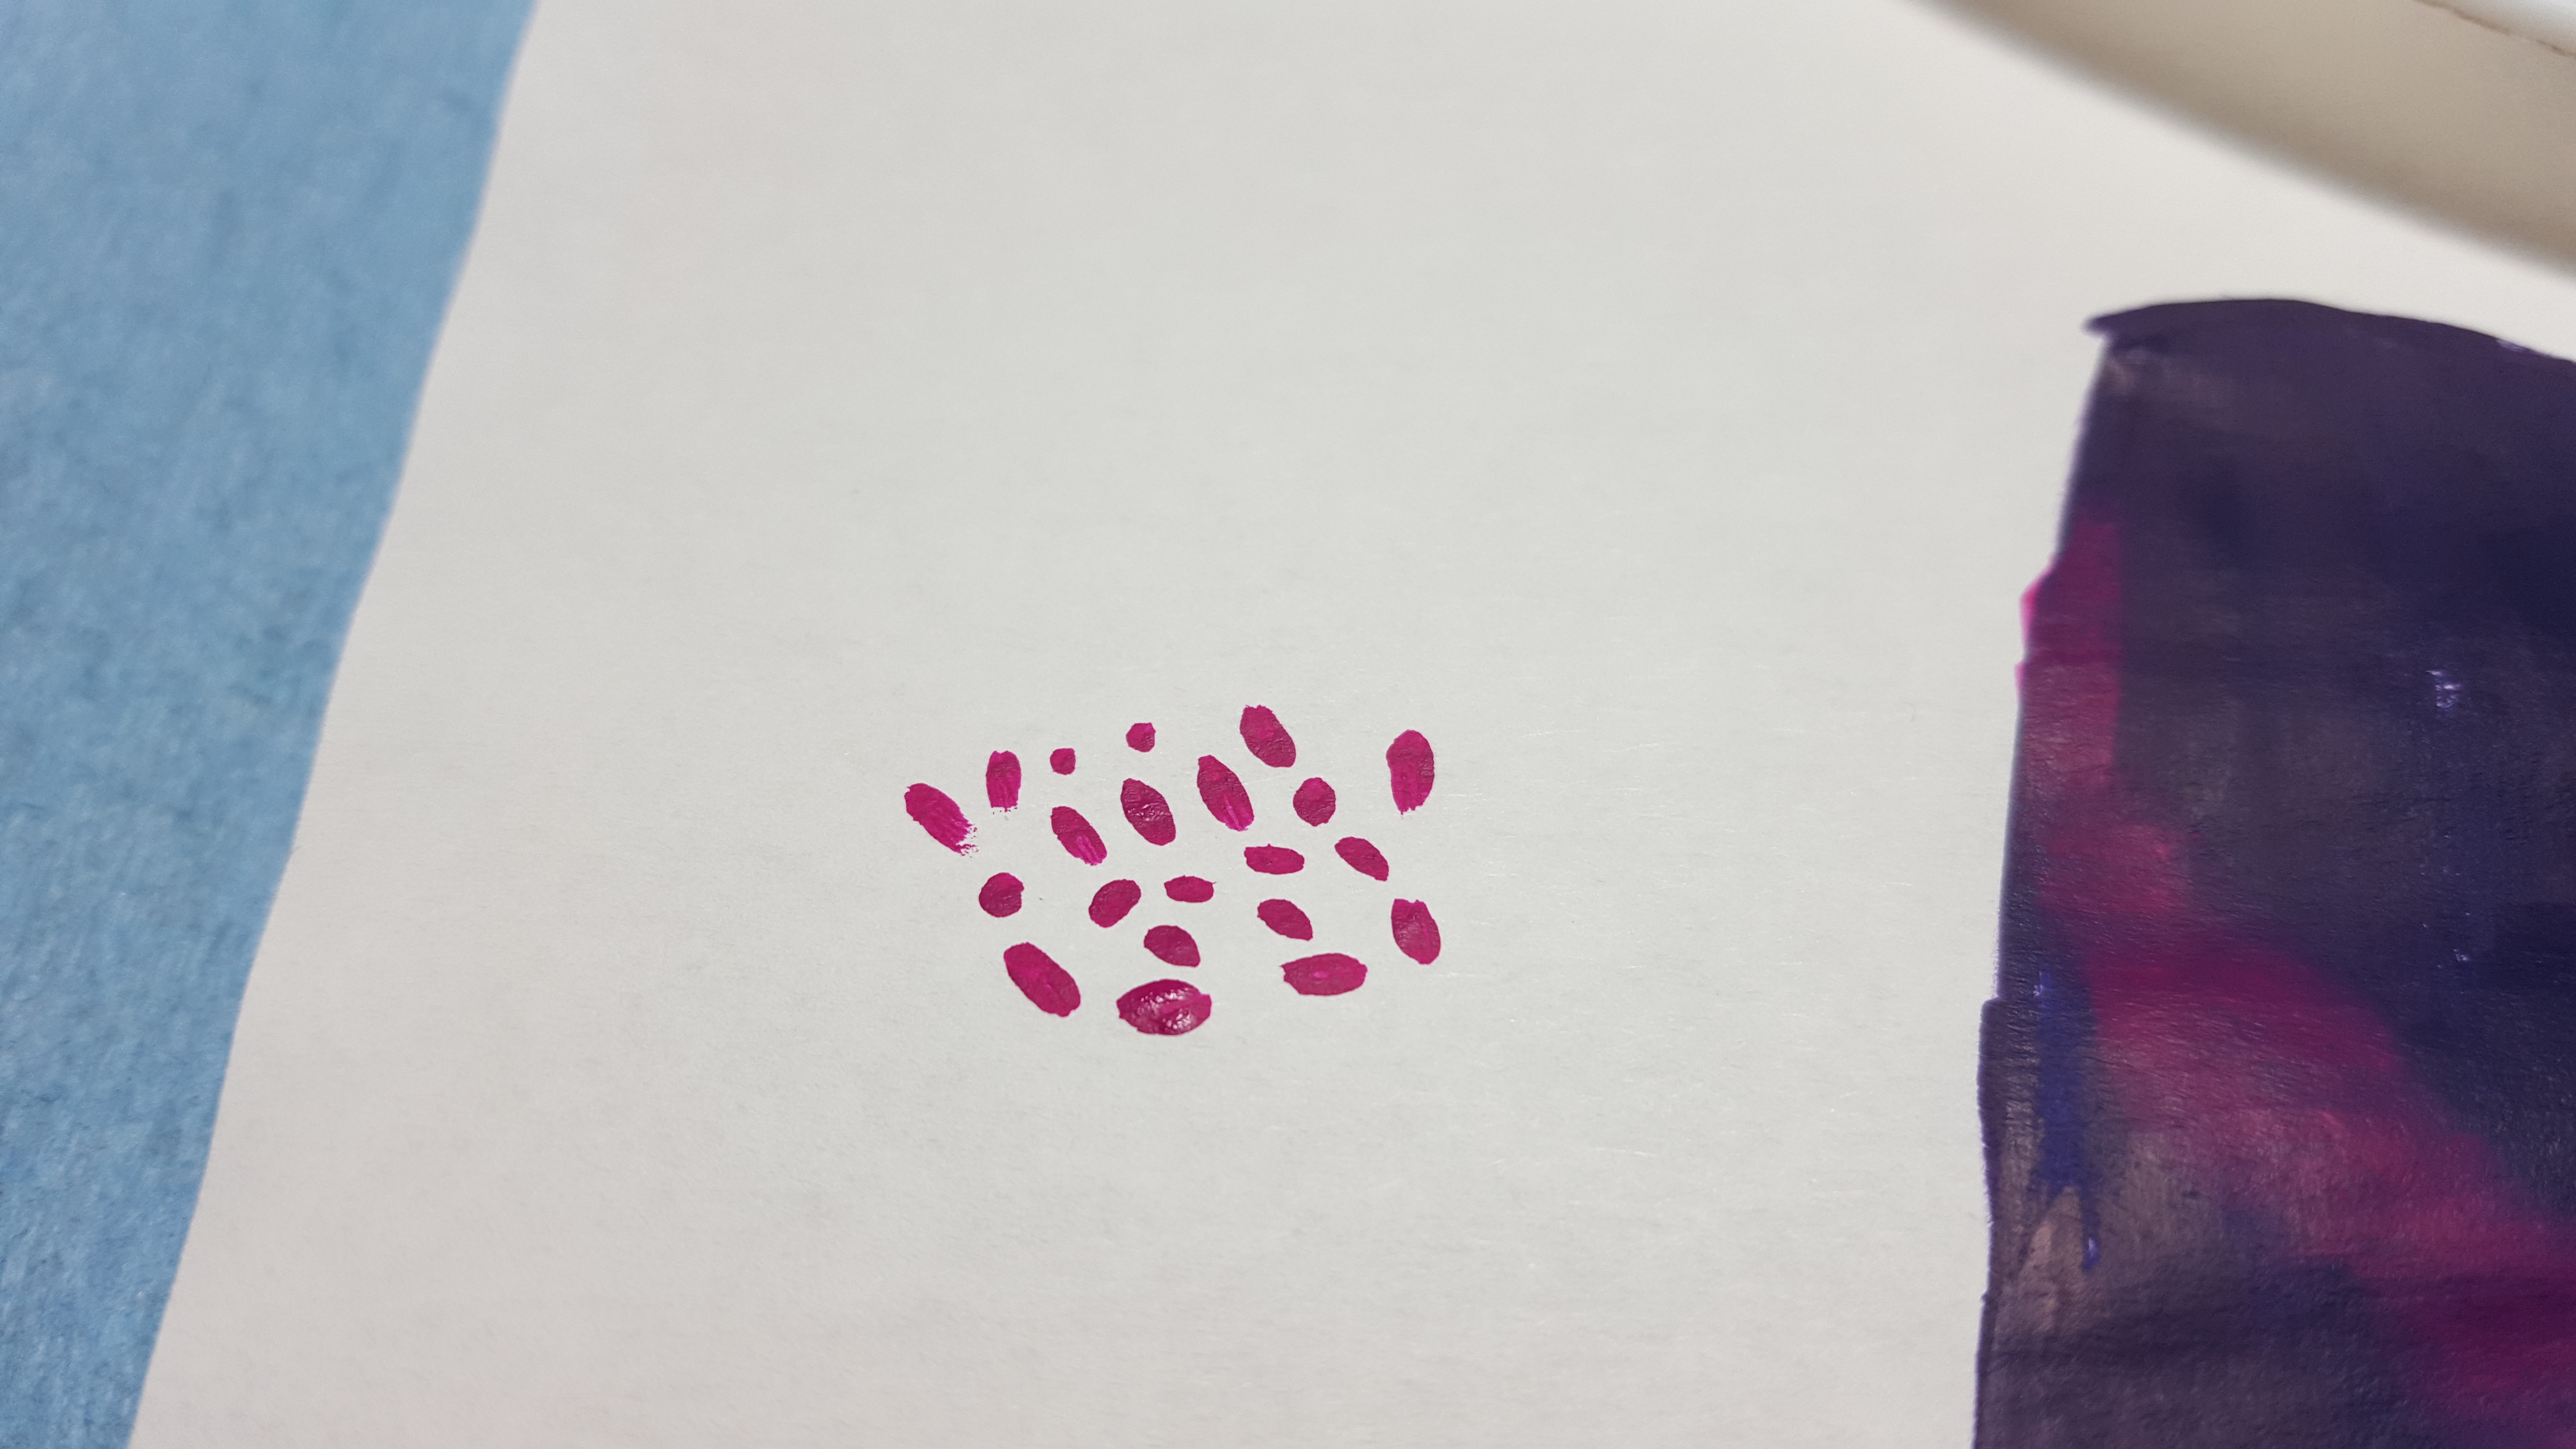 4
4 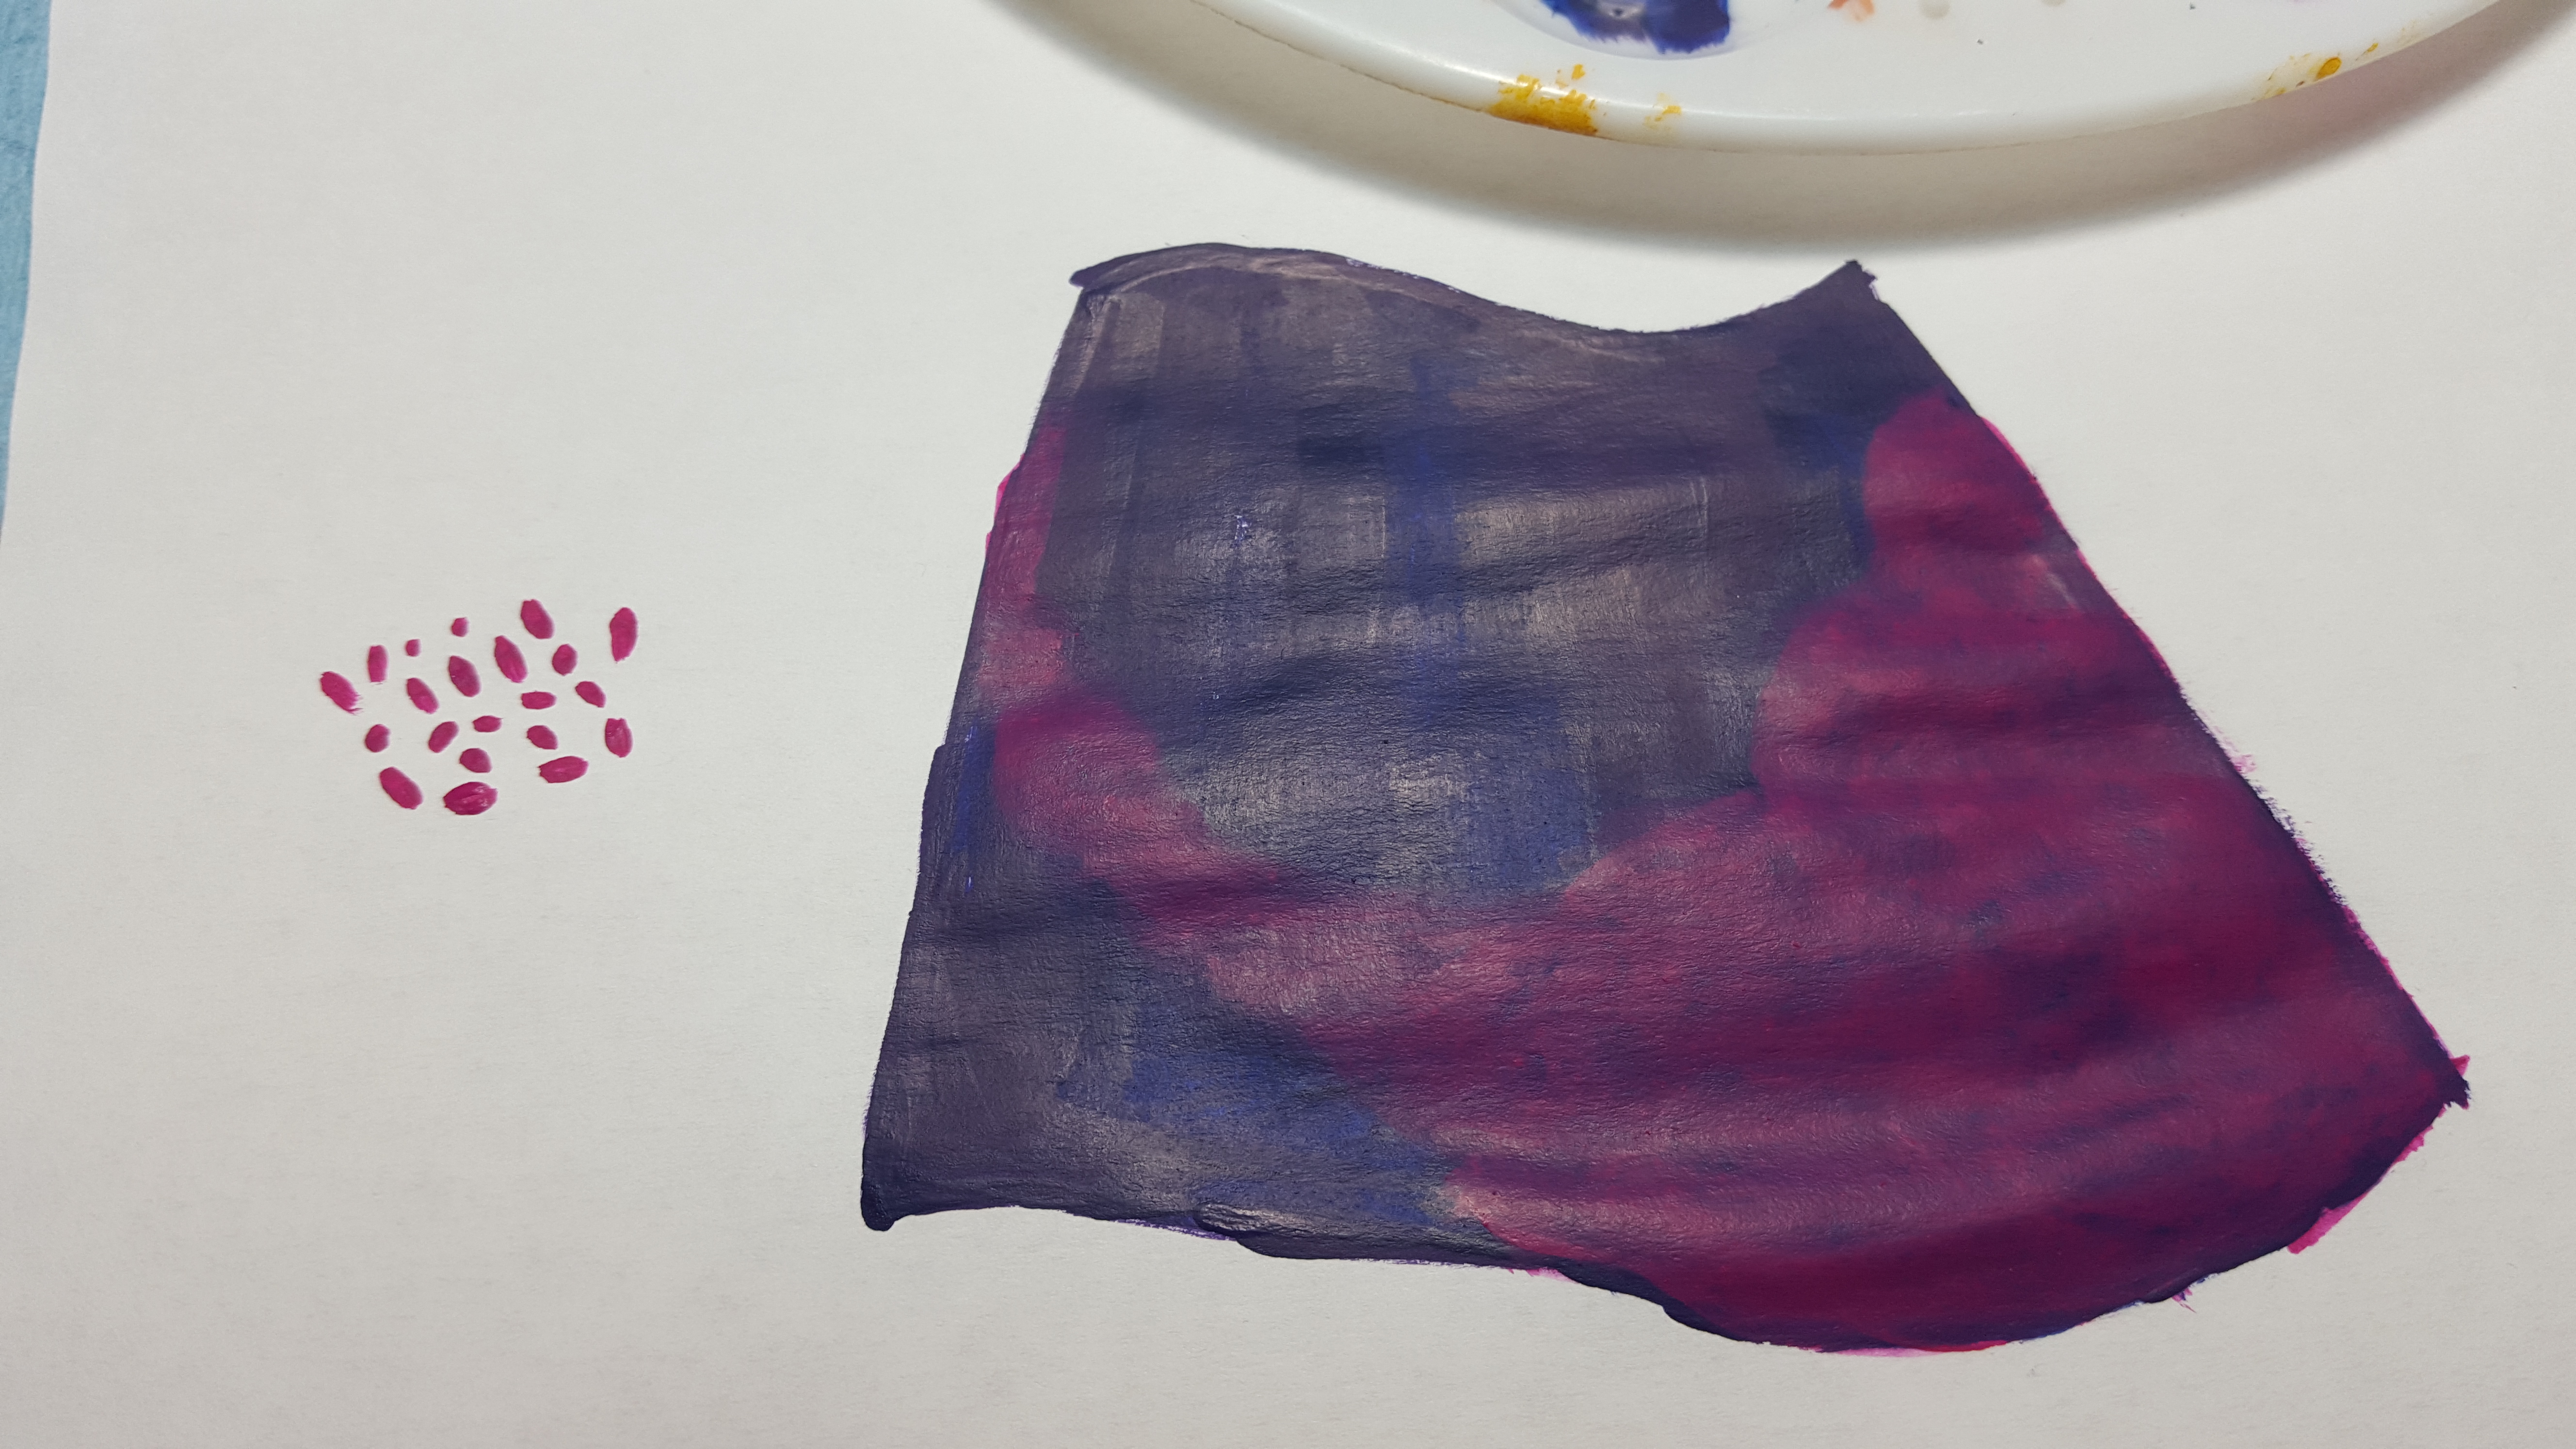
Picture 3 and 4, you won’t really see a difference other than slightly more dark patches of Warlord Purple. You will want to have bigger dots for this, so angle your brush to the side after you load up on paint and just start dotting away. This will create the bigger patches of Warlord Purple, starting to form the actual blossoms.
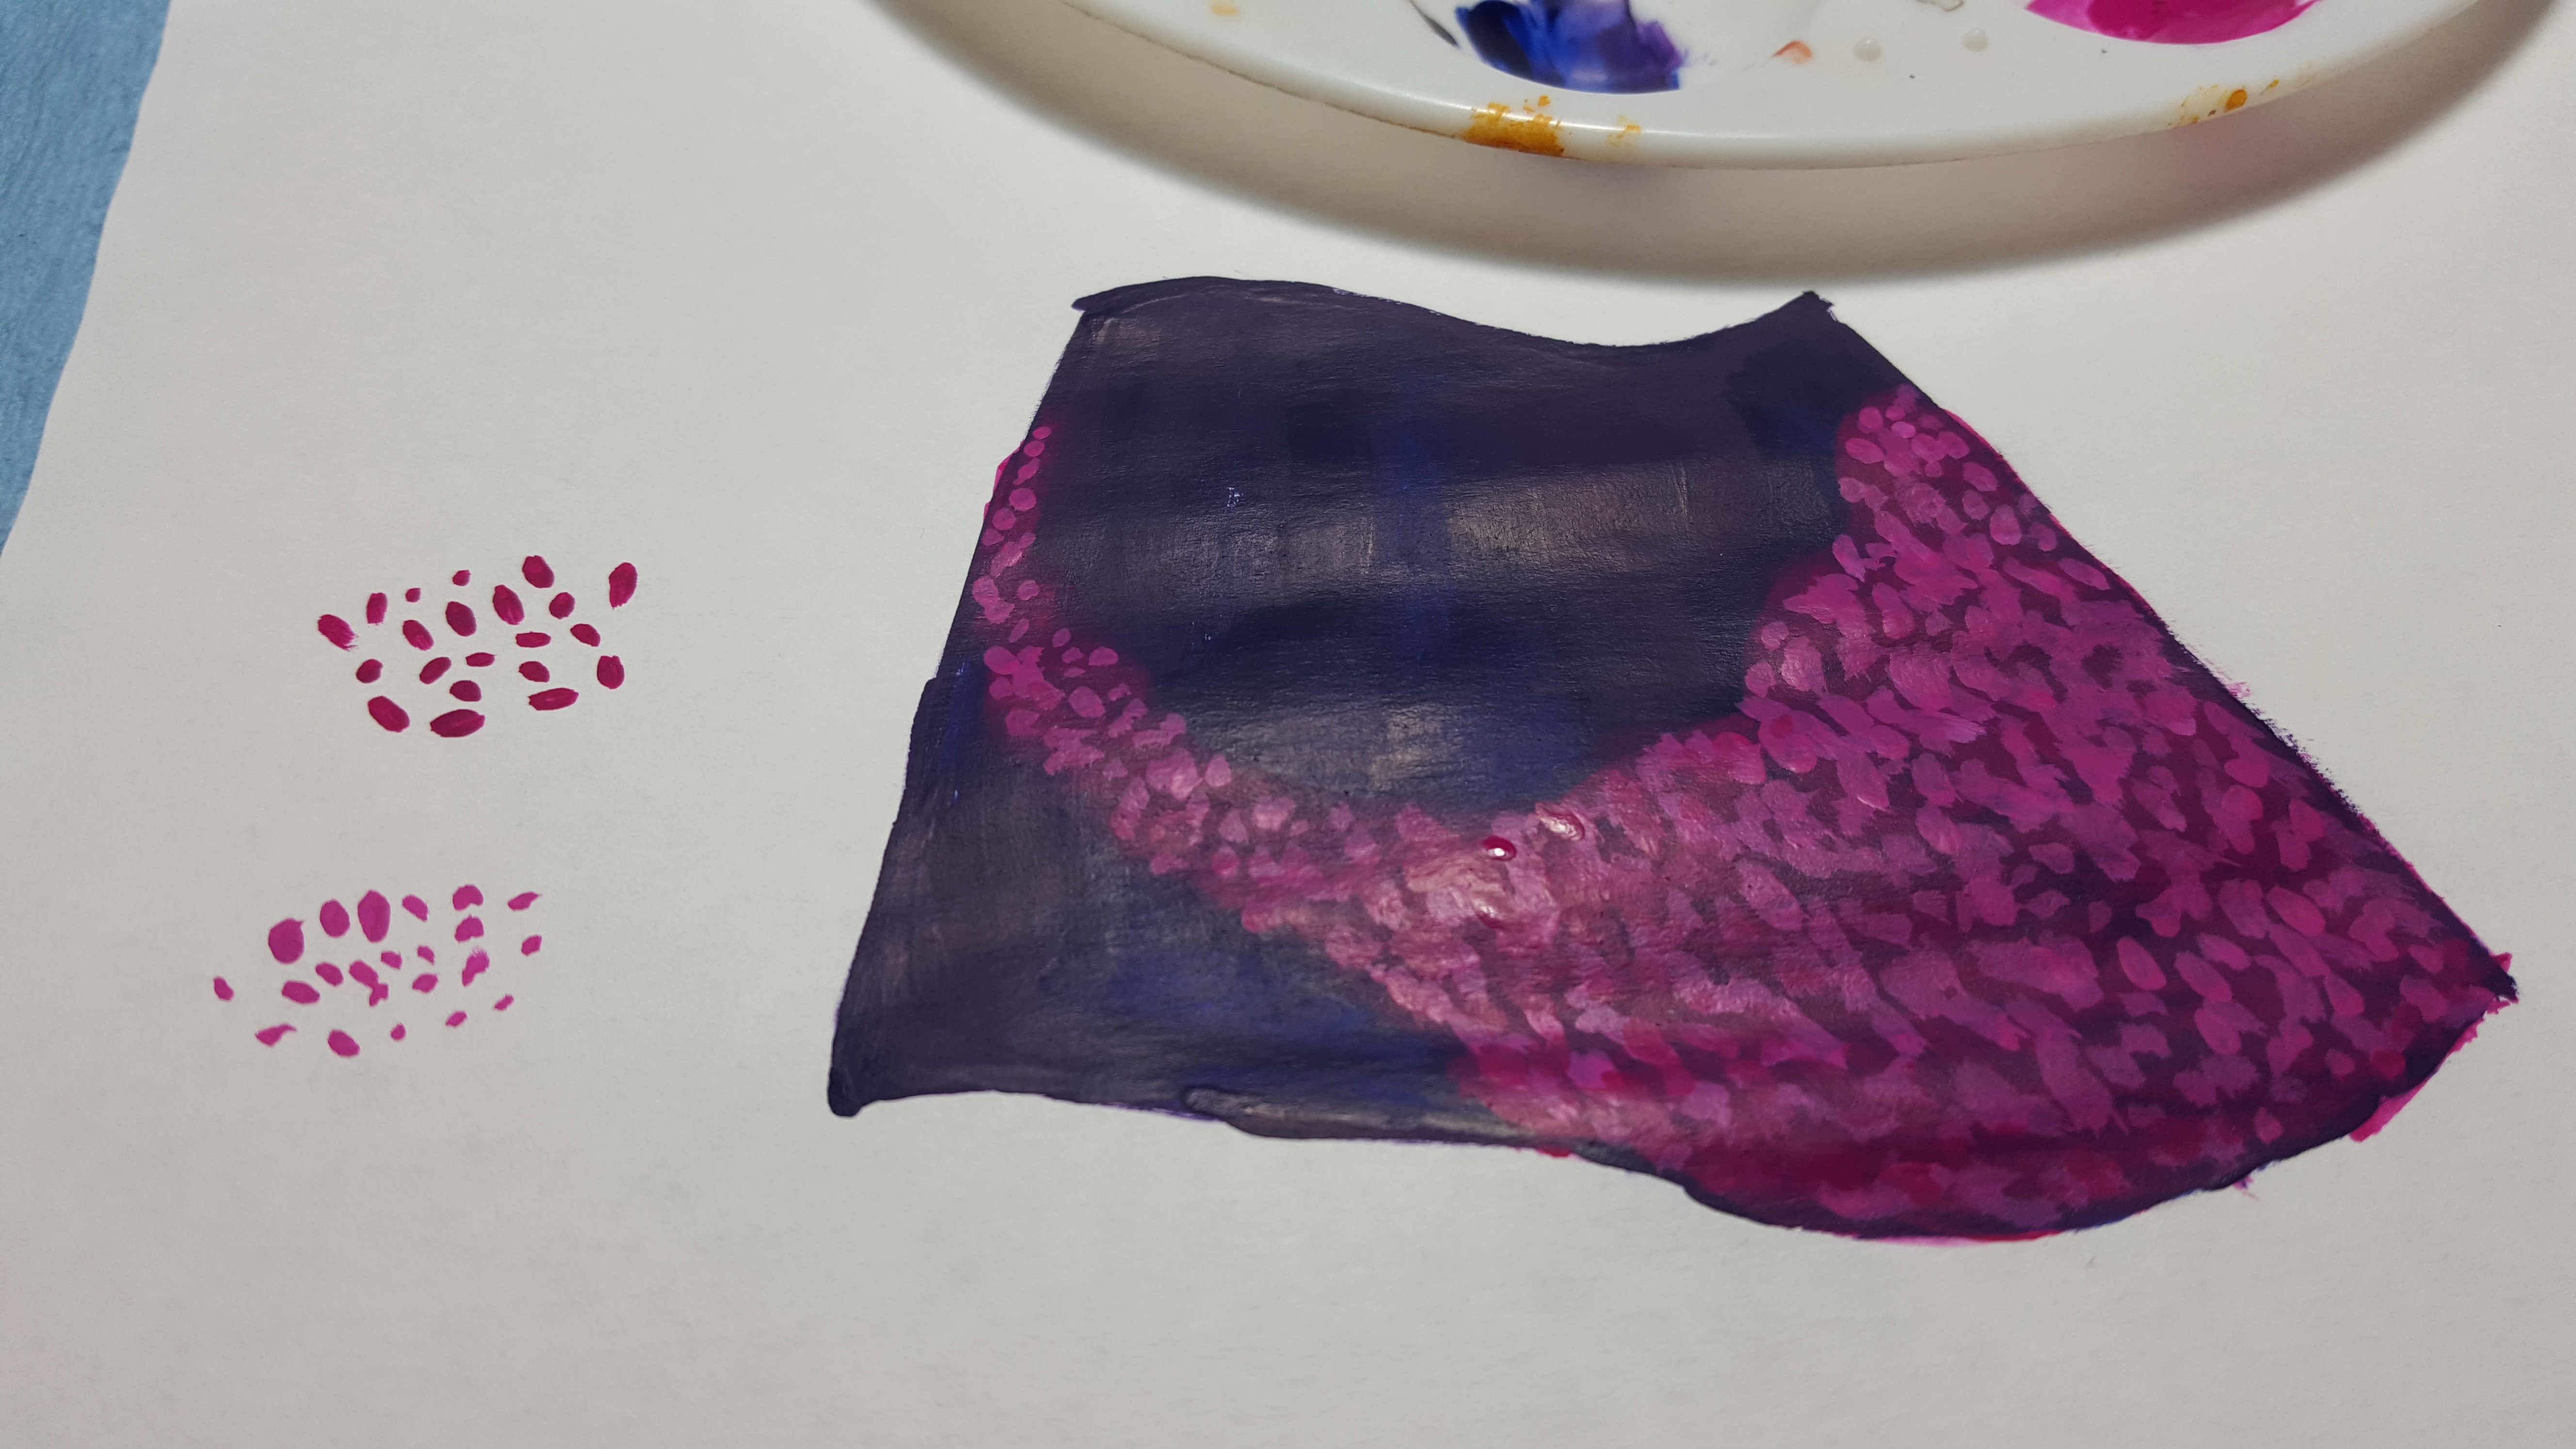
In this photo, mix in about 1:1 ratio of Warlord Purple and Squid Pink and incorporate a bit smaller dots along with the big dots that you put in for just the Warlord Purple. Make sure you don’t cover up all the Warlord Purple layer.
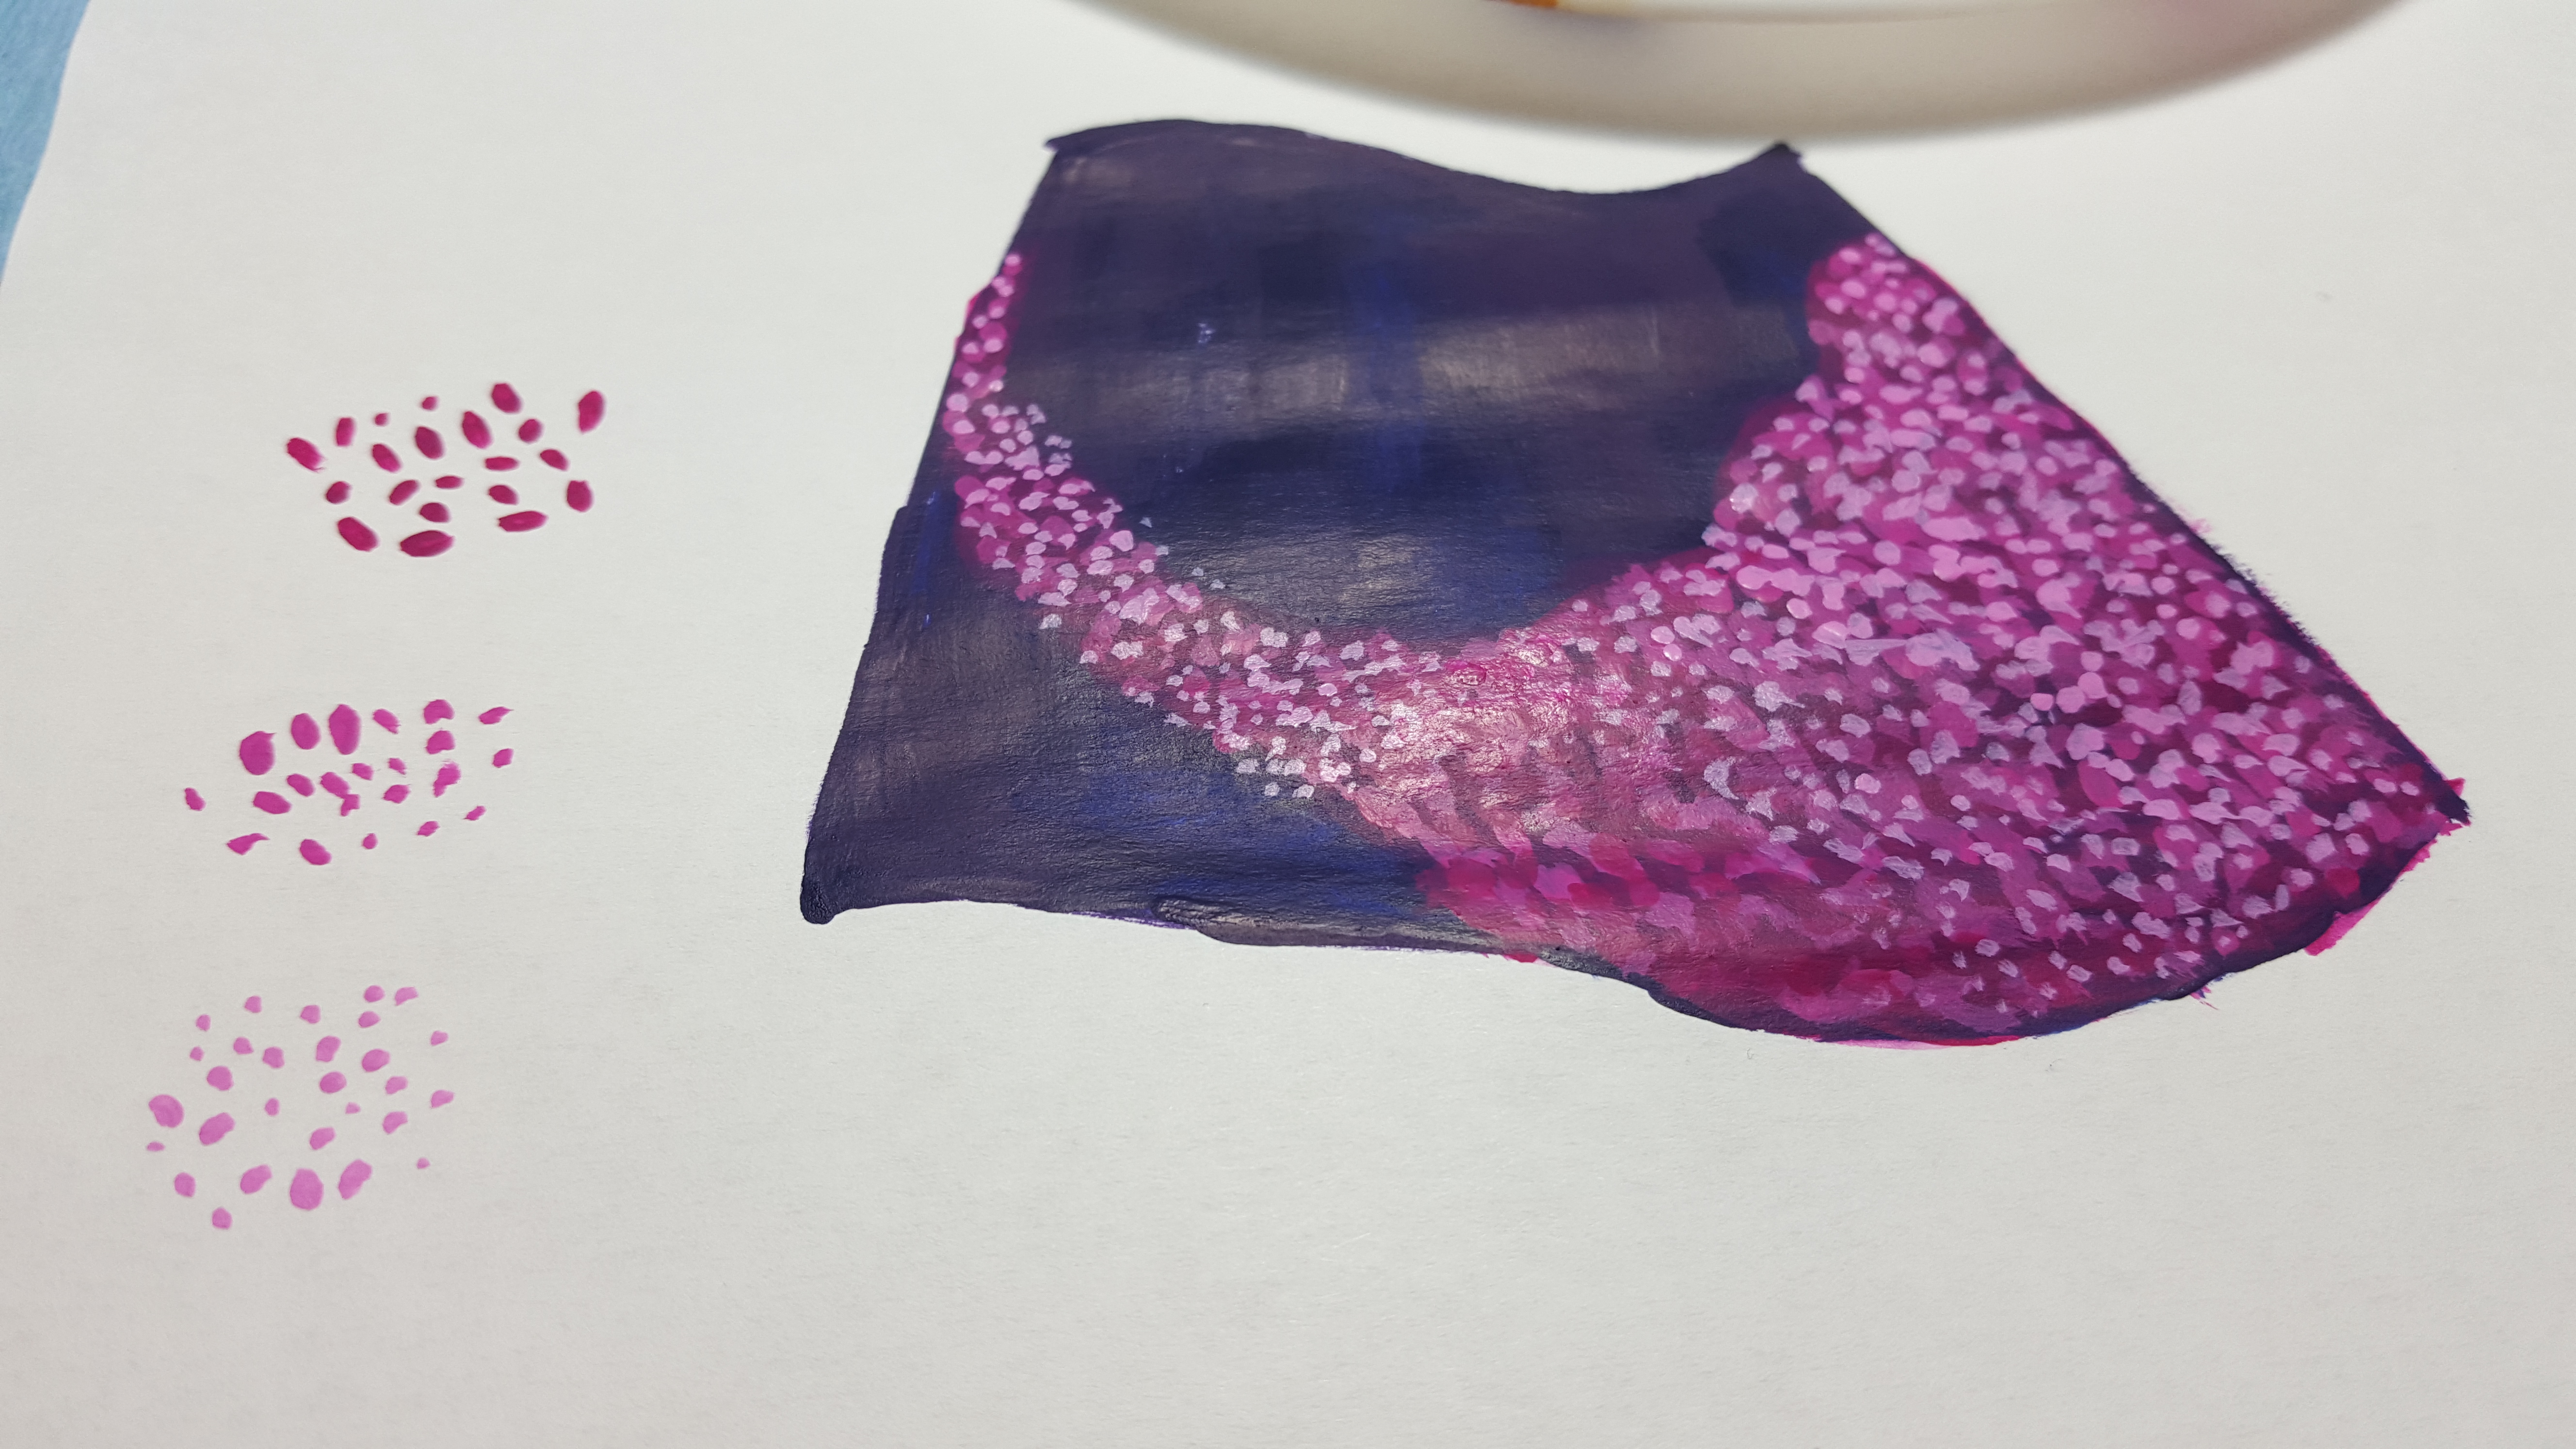
Next take Squid Pink and layer in some dots. Next to the cape shows about the size of dots to include. You want to start layering, especially starting with this layer to start putting it on the raised ridges of a cape or cloth. you want some of it to start flowing into the darker ridges, but only where the light will hit. You are building more highlights from this point on. Also put smaller dots toward the edges of the blossom bundle. If you get random small dots away from the main blob that you had in picture 2, that’s fine as well as there will be stray blossoms blowing around.
7 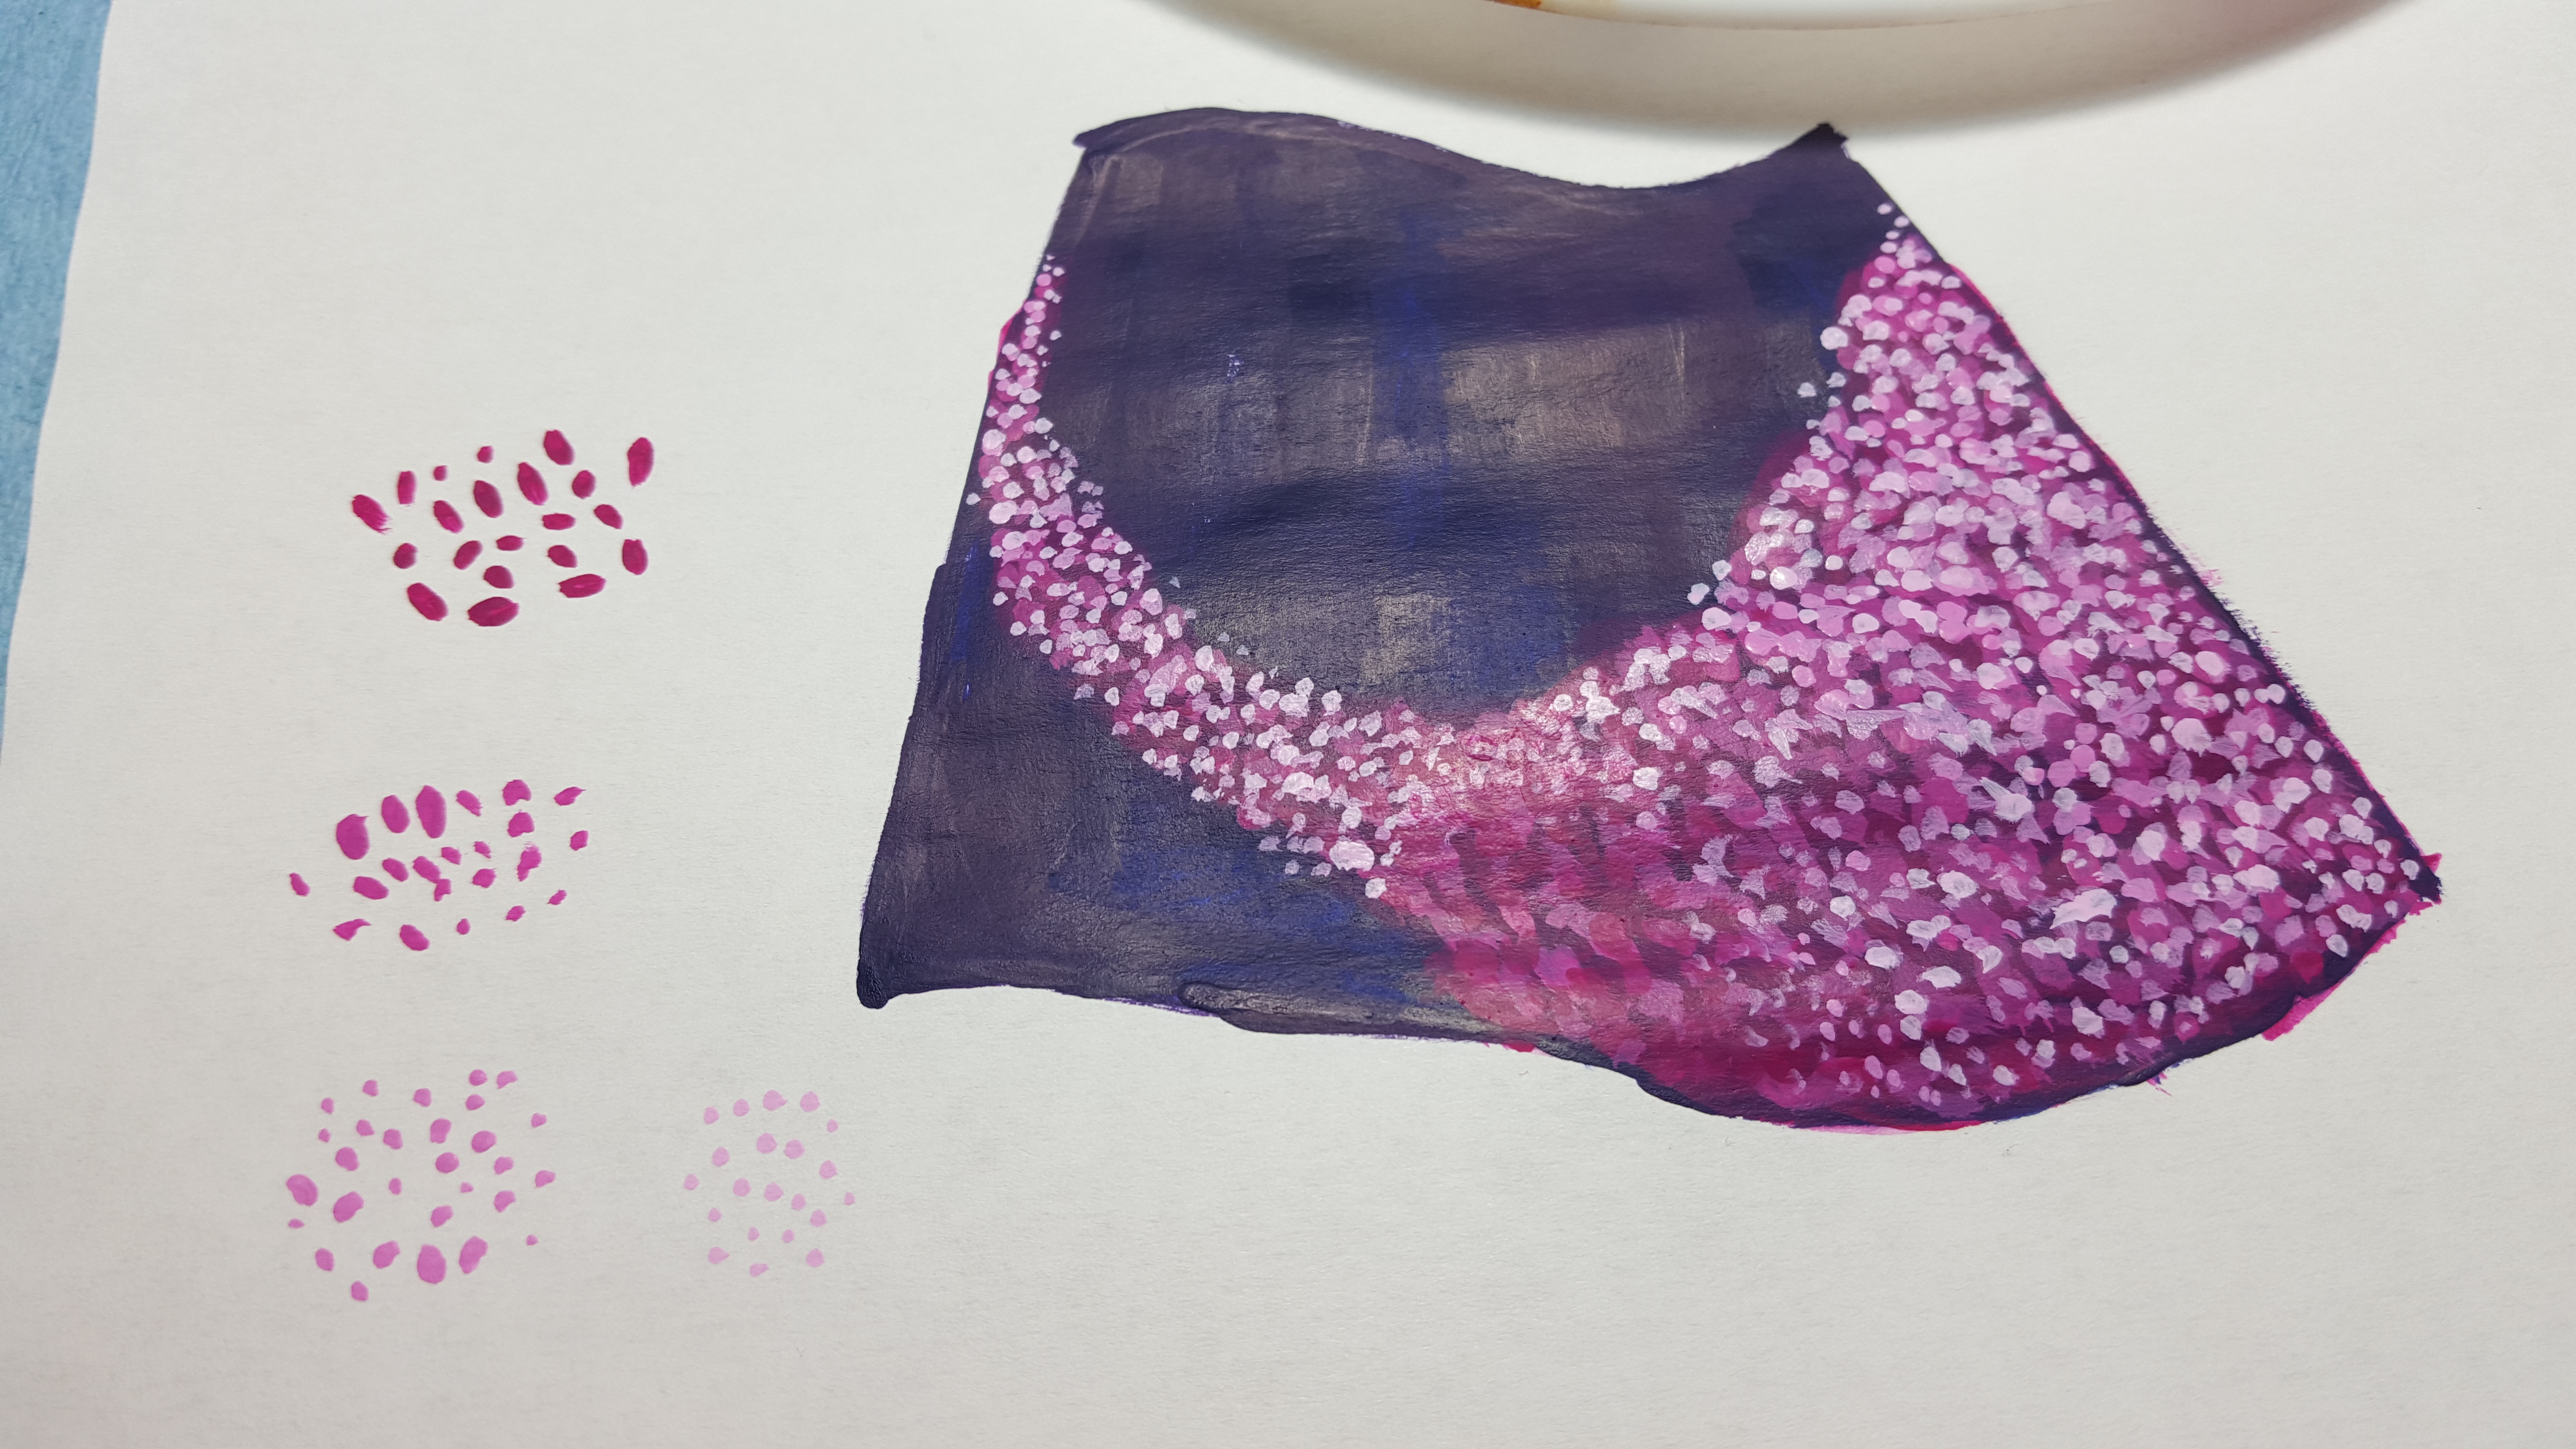 8
8 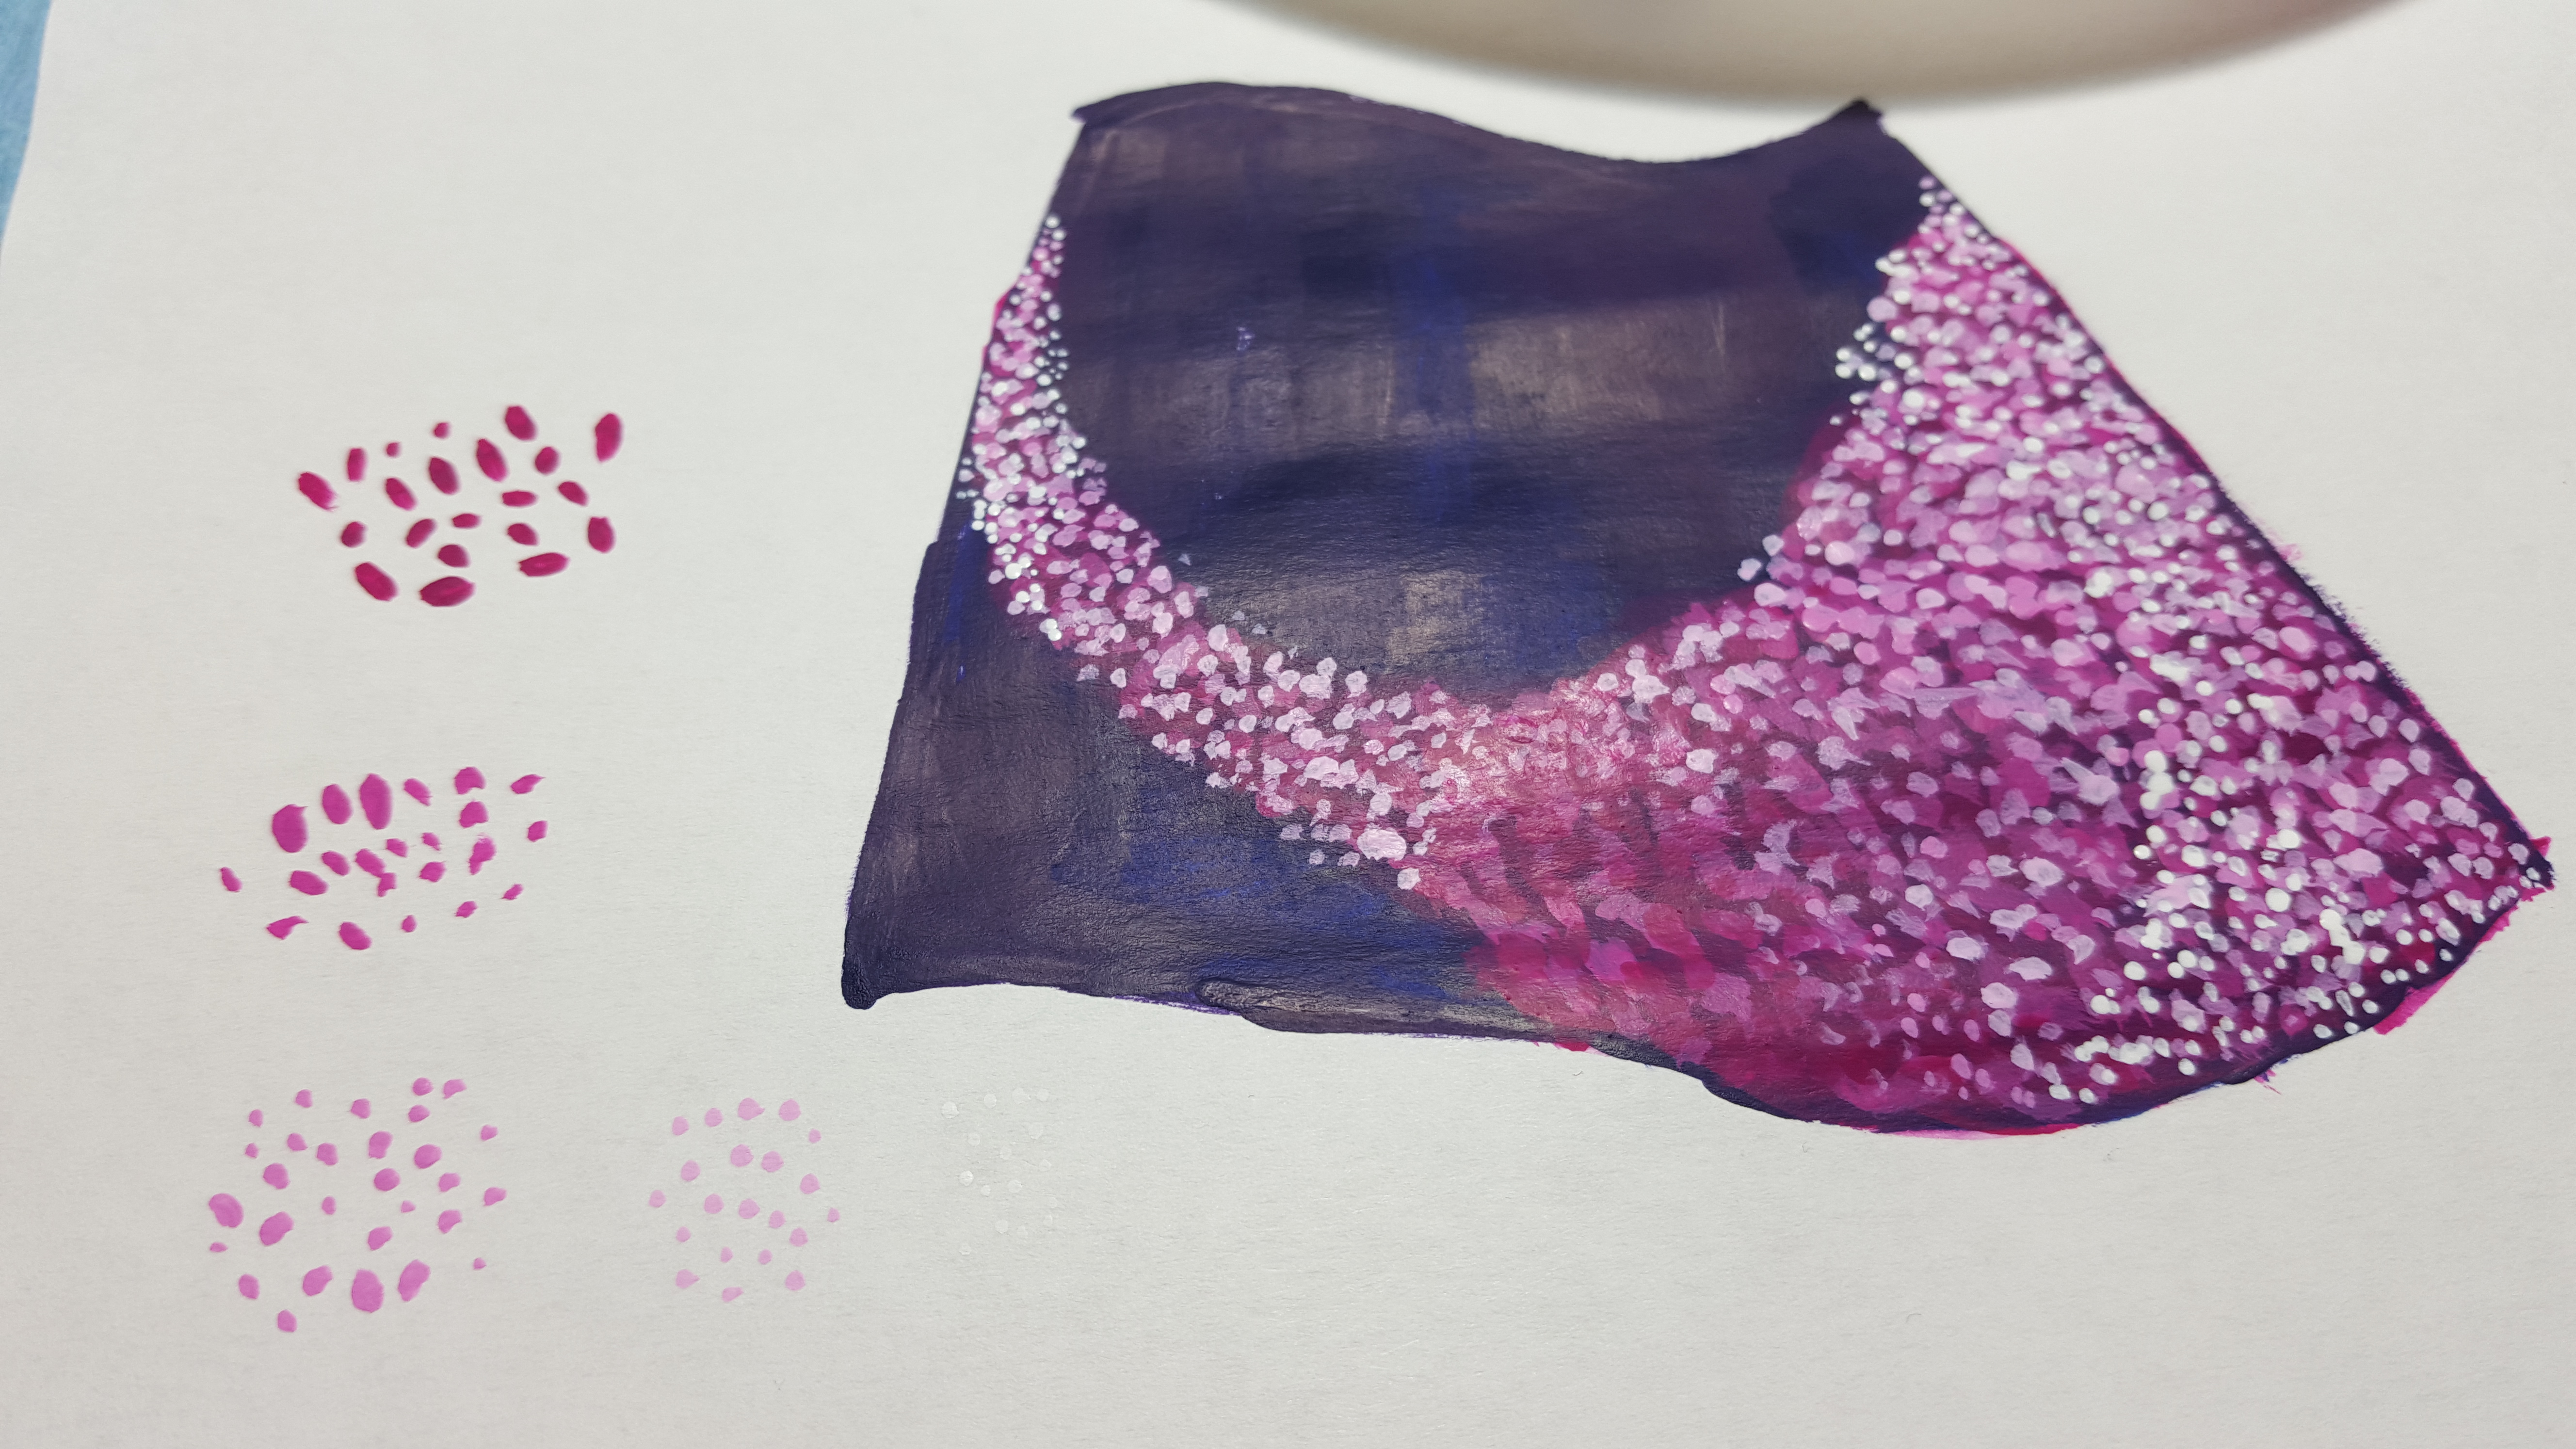
Picture 7 is a mix of 1:1 Squid Pink to any White. Use smaller dots yet again and layer onto a smaller portion of where the ridges are raised on the cape.
Picture 8 is tiny dots of pure White dotted using only the tip of the paintbrush. Dot on the very tips of the raised ridges and in any way where you want any blossoms to sort of swirl.
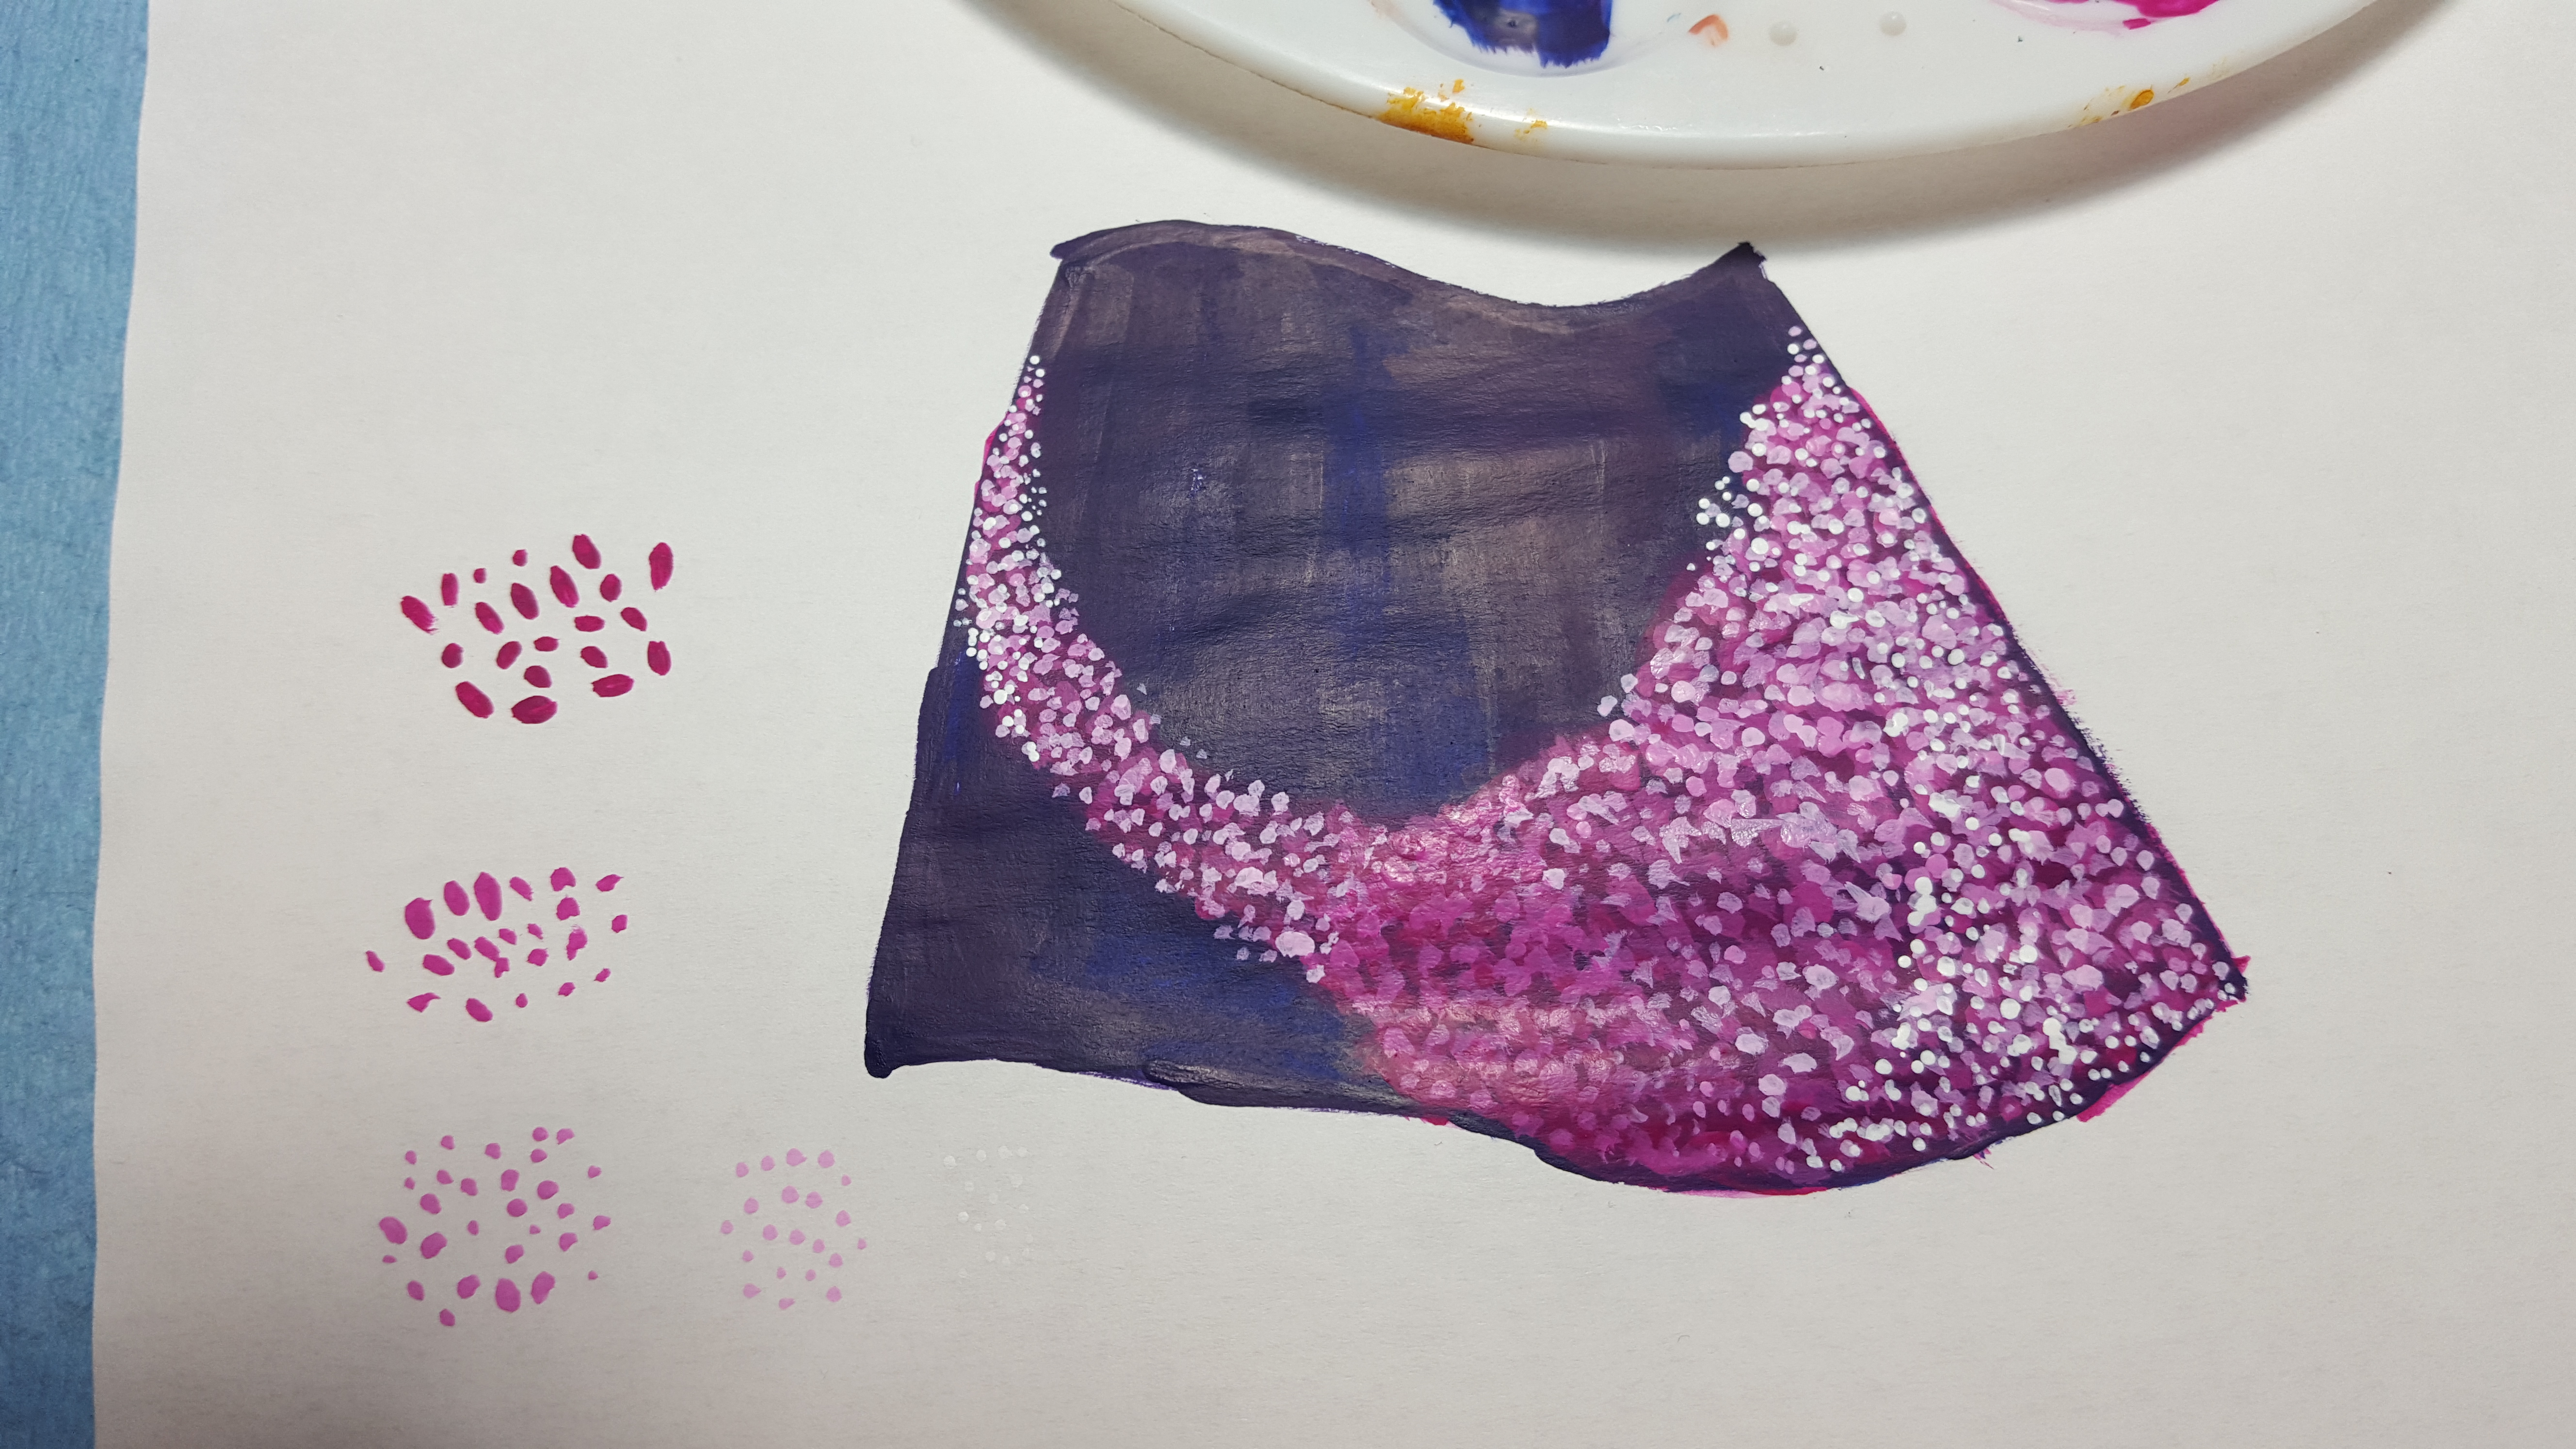
On this 2D replication and on my Tabbybrook itself, I went back and in the darker recesses, added in some more actual dots of the 1:1 Warlord Purple and Squid Pink because it looked a bit muddled and needed more definition and brightening up. This is optional as to how you want your to look.
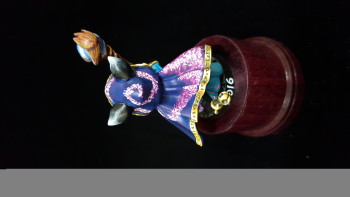
And this is what you will end up with! And I apologize for this being sideways. Nothing I did would change it.
I hope you have found this to be helpful, please explore the rest of the website as we have many great tutorials like this posted. If you enjoy a bit of R rated humor and learning about numerous topics about painting and the hobby in general we have a podcast, Models Workshop After Hours, that you can find on iTunes as well as all major podcatchers for Android, you can also listen to it at modelsworkshop.libsyn.com.
If you have a topic you would like to see on the website or hear about on the podcast please feel free to email us at ModelsWorkshopPodcast at gmail.com or head over to www.facebook.com/TheModelsWorkshop.
We can’t do what we do without listeners and viewers like you. If you would like to support us, please consider giving a one-time donation though by clicking below
or a small monthly donation through www.patreon.com/ModelsWorkshop where every penny goes into adding great content for people like you.
All items that I talked about in this article are things that I use and highly recommend. None of these items were donated or were we paid to say what we did.