
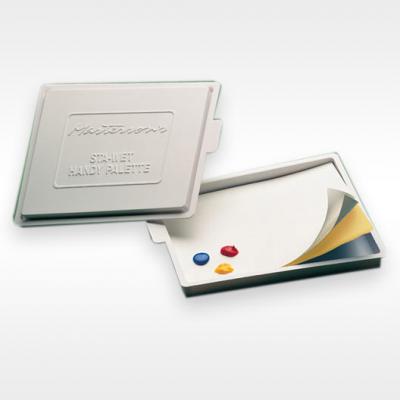
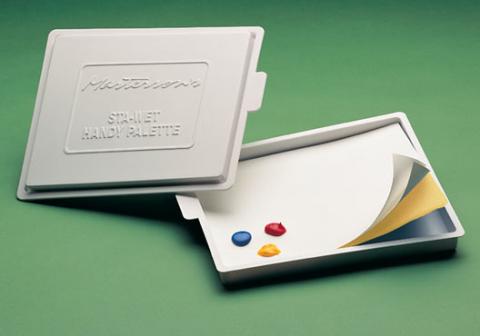
Hello folks and today I am going to be talking about setting up your wet palette properly. Personally, I use a Masterson Wet Palette instead of trying to make my own. I find that the cost, at $10, is much more reasonable than wasting a bunch of money on something that only works half as well. For those of you who may not know, a wet palette is something that you put your paint on to keep it from drying out. It does this by pulling water from a sponge through a piece of paper and into the paint as the paint tries to dry out. This all sounds nice and easy, but ask anyone who has tried to set them up. They can be a royal pain in the butt to get the proper amount of water, you really have to Goldielocks it and get it just right for it to be effective.
What you will need:
- A wet palette, I highly recommend buying one versus making one
- A source of very hot water
- A place to soak a piece of palette paper (bottom of the pallet works)
- Drying Retarder (optional)
- Flow Aid (optional)
- Water
Now before I get into how to set it up, I am going to cover why you should get one. First they cut paint waste almost down to zero, which is awesome if you are using dropper bottles. Even if you are not using a dropper bottle you will have less paint wasted in the pots because you will be able to just quickly remove paint from the pot and place it on the palette. Anything you happen to have left over will stay wet with the lid sealed shut. Second, they can actually allow you to paint more! With a wet palette that is set up, if you only have 15 minutes to paint, the setup time is cut to almost nothing as you open the palette, grab a brush, and start painting on a miniature. When you are done, 30 seconds with The Masters Brush Cleaner and Preserver and you are ready to move on with the next task for the day. Lastly, and this ties in a bit with the first, paint stays wet on a wet palette for days, as advertised, but I have honestly opened a well-sealed wet palette several months later and had paint I would still use.
Now in this tutorial I am not going to be talking about how to make a wet palette, I am going to assume you have purchased a wet palette like a Masterson Wet Palette or another brand like it or you have already made one. I cannot guarantee the results on one you have made as this is written with certain types of paper and sponges in mind.
- Remove all the contents from the container. Typically, a purchased wet palette will have a sponge and several pieces of paper cut to the proper size for the container.
- Take one piece of paper and soak it for at least 15 minutes in very hot water. You are not going to hurt the paper if you soak it for longer. If your tap water isn’t that hot, you can microwave it for a few moments to heat the water up.
- Optional: Mix a mixture of water with drying retarder and flow aid. I typically will mix about 10oz of water with half an ounce of each. This is under the maximum allowed amount for both, allowing you to add more to the paint if you need to. I do this since it is something I add to any paint I am painting with anyways; this just allows the water being pulled up to have some product in it already. The brands I recommend are either Golden or Winsor & Newton.
- Wetting the sponge, this is what causes the most heartache and frustration when dealing with a wet palette. There are two ways to do about doing this to maximize success.
- The first way is to place the sponge in the container and pour water (or your water mixture) all over the sponge, making sure to cover all areas, an area that needs more water will typically be a lighter shade of yellow. When pouring the water on the sponge you do not want any water to pool up above it. If this happens you have added too much water and will need to empty some out.
- Another way you can also wet the sponge is by running it under the tap until it is fully saturated, then placing it in the tray and adding a little water to it bringing the water level in the tray up to right below the top of the sponge.
- There are two ways I have for checking this:
- The fingertip method. Push the tips of a few fingers into the sponge, the water should pool around your fingers for a moment before being absorbed back into the sponge.
- The Tipping Method. If you tip the wet pallet up about 30 degrees, water should collect at the bottom of the wet palette, but not spill out. If it would spill out, just let it as you have added a bit too much water.
- Now that you have the sponge in the wet palette properly wet, it is time to add the paper you had soaking in the water to the top of the sponge.

Now you are ready to paint! You should be able to now add paint to your wet palette and get to business. Do remember you will need to add water to the wet palette from time to time depending on how long you leave it open while you are painting. With the paper on it, I recommend the fingertip method as paint can get runny and go everywhere if you tip it up.
Would you like to buy the items in this article? Just click the link below and you will also be supporting Models Workshop through our Amazon store:
- MASTERSON Sta-Wet Palette 8.5 x 7
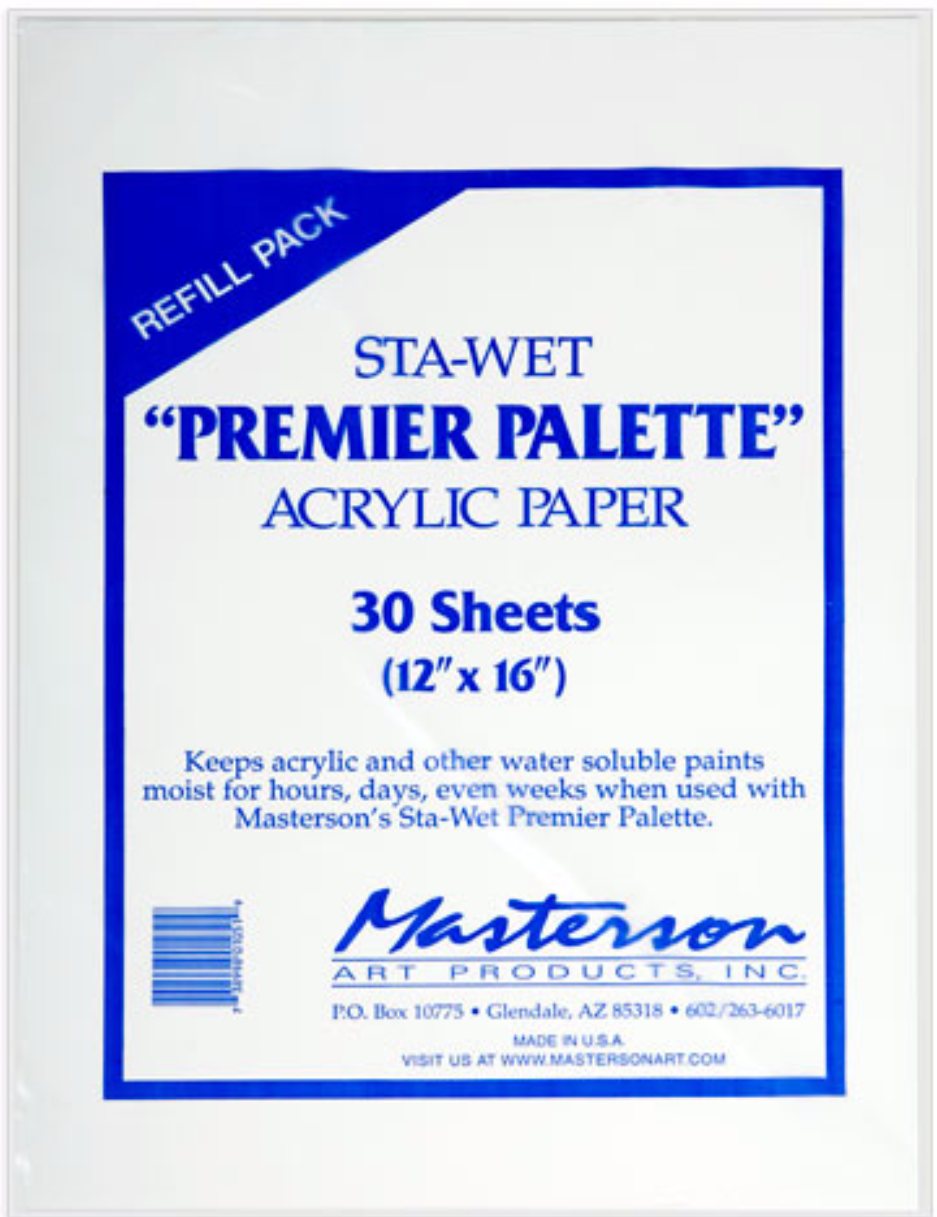
- MASTERSON 30pk Palette Paper 8.5 x 7
- MASTERSON 3pk Sta-Wet Sponge 8.5 x 7
- Golden Acrylic Flow Release 4 oz
- Golden Acrylic Drying Retarder 4 oz
I hope you have found this to be helpful, please explore the rest of the website as we have many great tutorials like this posted. If you enjoy a bit of R rated humor and learning about numerous topics about painting and the hobby in general we have a podcast, Models Workshop After Hours, that you can find on iTunes as well as all major podcatchers for Android, you can also listen to it at modelsworkshop.libsyn.com.

If you have a topic you would like to see on the website or hear about on the podcast please feel free to email us at ModelsWorkshopPodcast at gmail.com or head over to www.facebook.com/TheModelsWorkshop.
We can’t do what we do without listeners and viewers like you. If you would like to support us, please consider giving a one-time donation though PayPal by clicking
If you would like to give a monthly donation we are on Patreon

www.patreon.com/ModelsWorkshop. The donations are used to pay the bills and keep the lights on as well as buying the latest and greatest to do reviews for you!
All items that I talked about in this article are things that I use and highly recommend. None of these items were donated or were we paid to say what we did.