

Today we are covering a topic that a lot of people have an issue with and that is pinning. Below we will go over only one method of pinning. There are several more. I will be following this with a video tutorial as well showing the exact steps. The main reason to pin a model is due to a weak point on the model. You can also use pinning to make a model modular for ease of transport, but in this article we are going to cover supporting a weak joint. Tools:
- Wire or rod
- Drill bit same size or slightly larger then the wire/rod
- Pen drill
- Clippers
- Glue
- Paint
- Model to be pinned
1. Select a model. Typically you would only pin a metal or possibly resin model. This is because plastic glue literally melts the plastic together to create a permanent bond. Now this doesn’t mean you can’t pin a plastic model to make it more rigid or to stop a nonjoint area from breaking. I selected a Daemon Hunter model that has a decent arm joint, but due to it sticking out has a tendency to be knocked off, especially in transit. 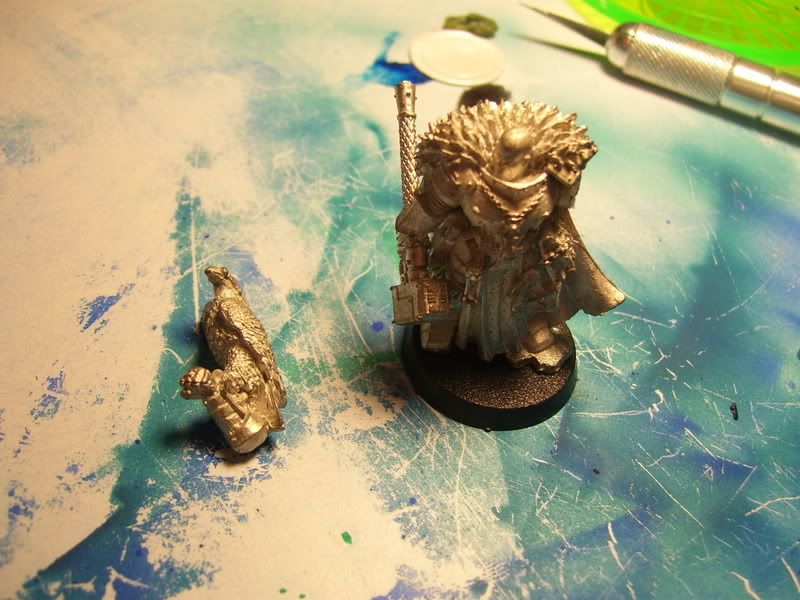 2. I use brass rods available from train, craft, or hobby stores, mainly because they have a defined size that is easier to match to drill bits. The ones I use cone from Hobby Lobby, they are 12 inches long and come in a package of 5 for about $4. The drill bits can be picked up about anywhere, just match it to the brass rod, in this case a 1/8th inch.
 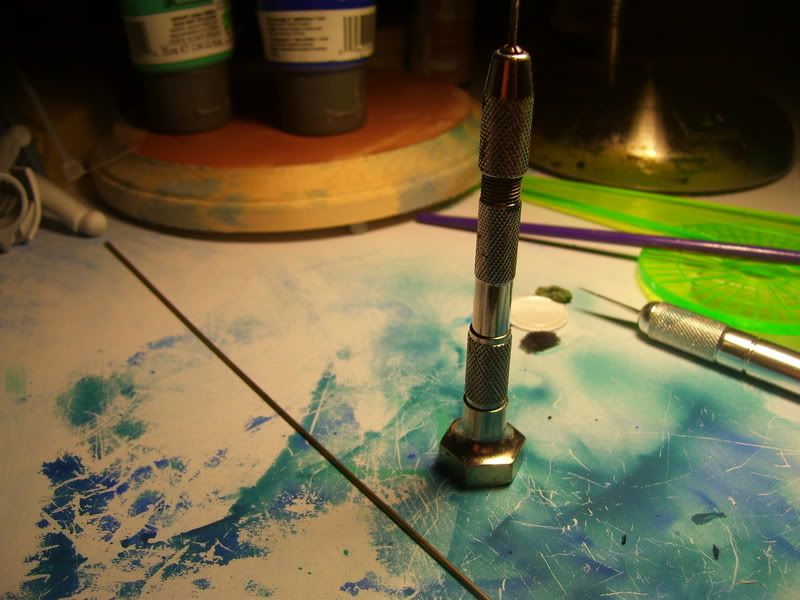 3. Drill a hole in the large piece, as close to the middle of the joint as you can, make sure you are going straight in too.
 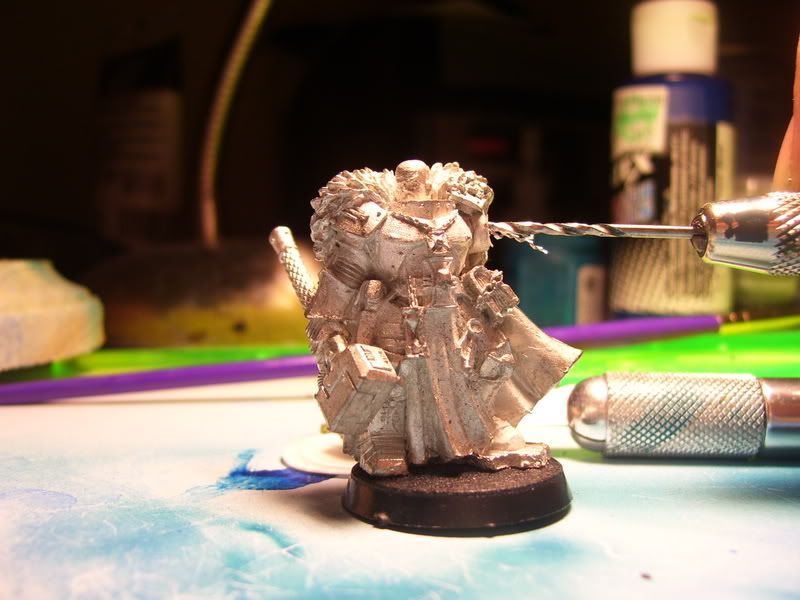 4. Test fit the rod (optional).
 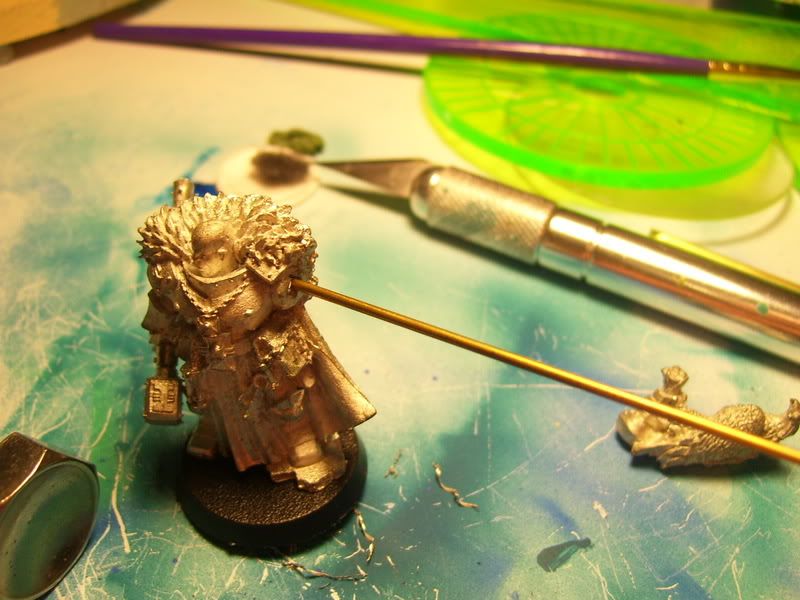 5. Now you need a piece of rod slightly longer then flush. You will put a little bit of paint on the end.
 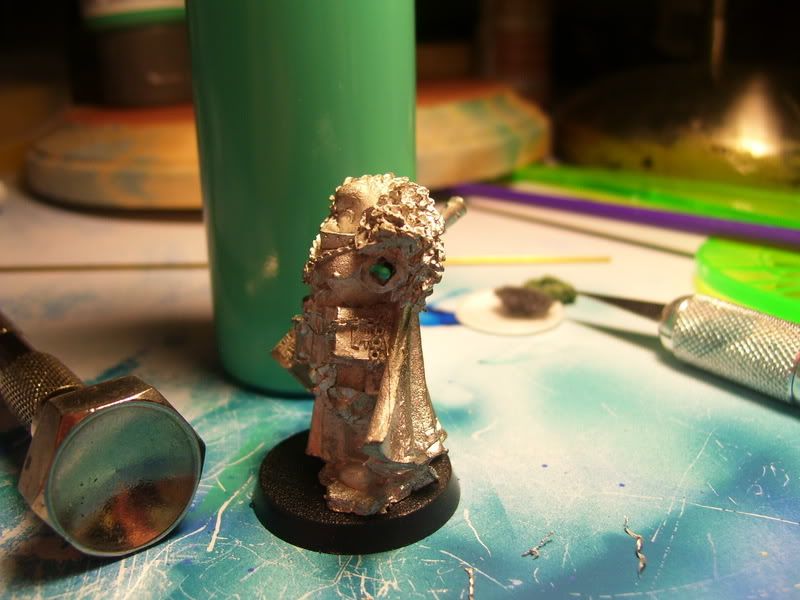 6. Put the other there piece you are planning on pinning into the joint, be very careful and make sure you place it exact.
 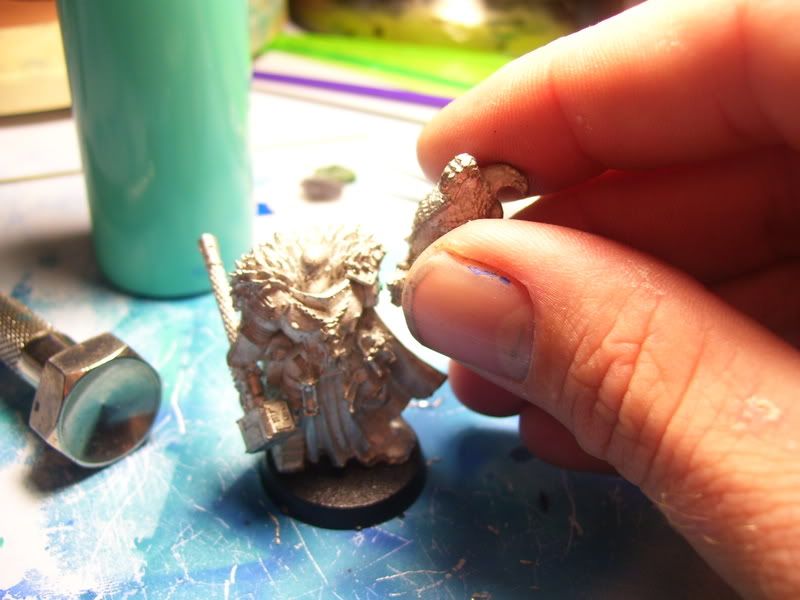 Because the paint on the end of the rod will transfer over marking where you need to drill. You can now remove the short piece of rod from the hole.
  7. Now carefully drill into the other piece, once again taking care to drill straight in.
 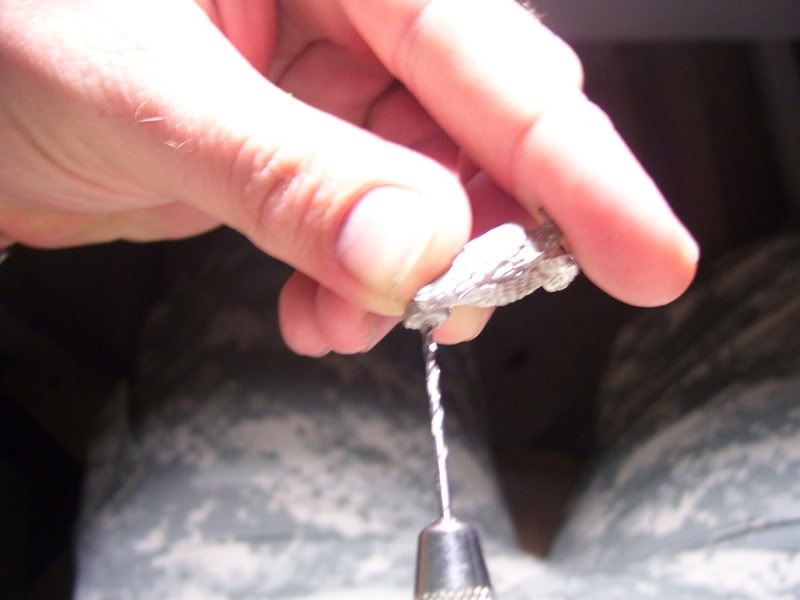 8. Cut a section of rod and place it into the piece ti test fit it. If you find the rod too long, you can either trim the end off, or drill the hole a bit deeper. You can also sand it down some if using brass rod.
 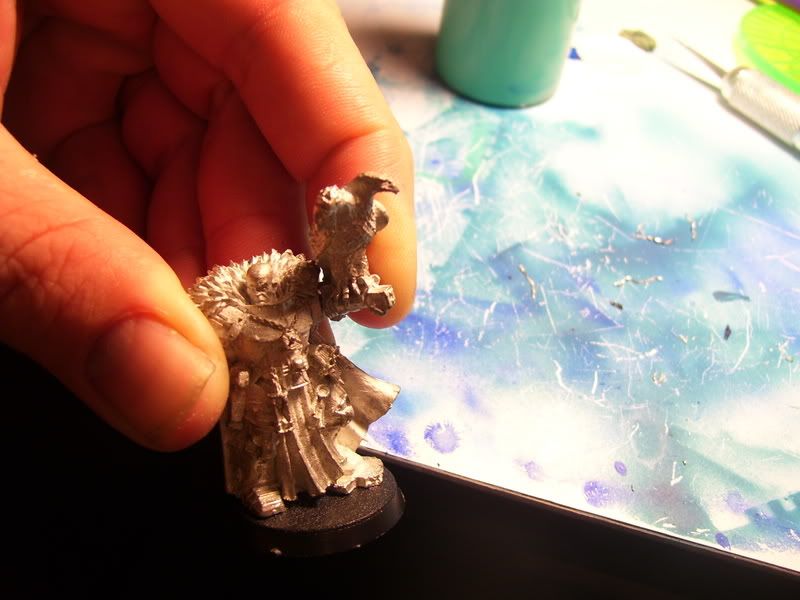 9. Glue the tip of the rod, the joint and the other tip of the rod and insert into the model, hold until dry.
 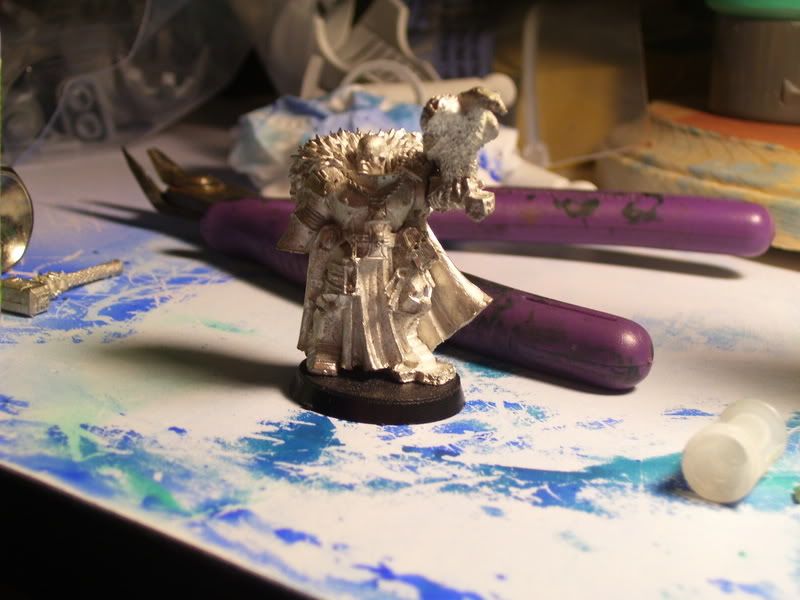 And that is how you do a simple straight in on between two items. In upcoming tutorials I will talk about some other types of pinning, do some videos, and also talk about how to fix a messed up pinning. If you have any questions, comments or requests please email me at djinn24 at Models-Workshop.com or visit us at www.facebook.com/TheModelsWorkshop